Publish agents from Studio
The easiest and most effective way to publish your agents to Control Room is to do so right from Studio using the built-in functionality.
First, make sure you have your Studio linked to Control Room.
Publish an agent
- In Studio, go to Agents using the left-side navigation.
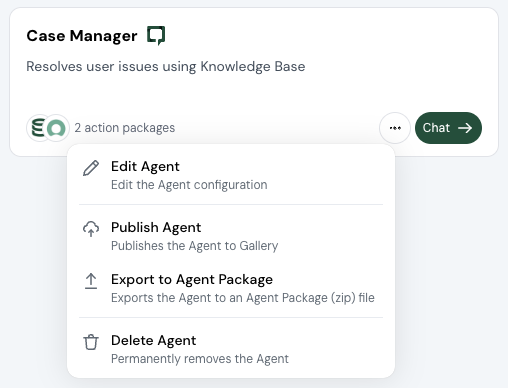
- Under My agents, locate the card of an agent you want to publish.
- Click button on the card and select Publish.
After this step, you're prompted to assign a version number to the agent. Unless you need to assign it manually, you can leave the pre-filled value as it is.
The agent version you publish to Control Room always needs to be higher than the last one already in Control Room. You can specify it manually or let Studio auto-increment it for you.
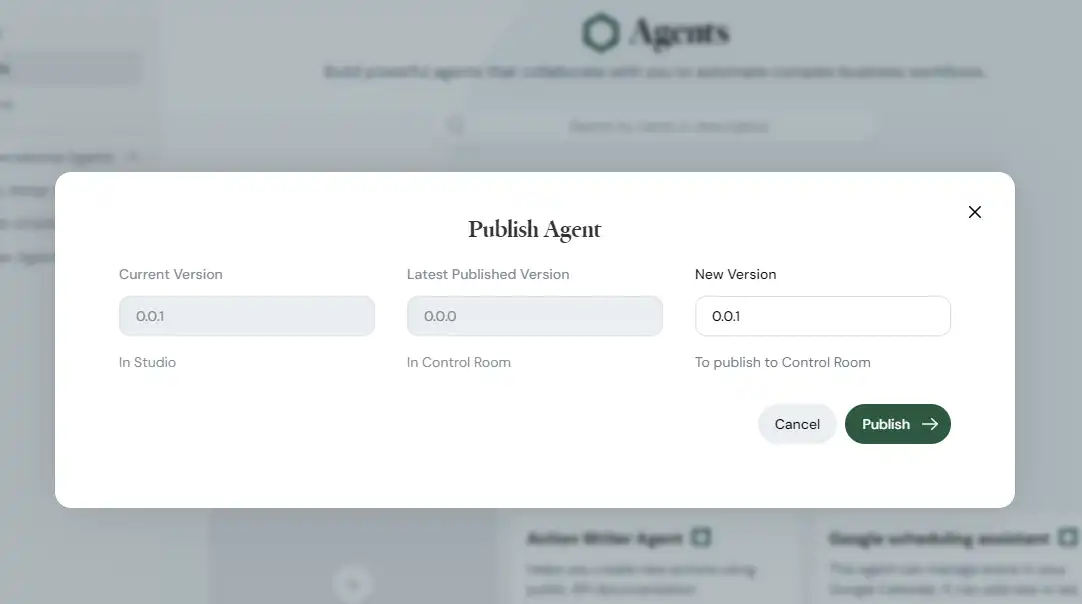
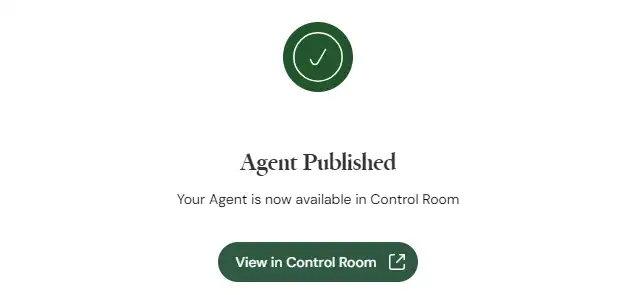
To finish the publishing process, click Publish . Studio verifies the agent structure at this point and once done, you get a confirmation that the agent is published.
In case the agent contains something that prevents it from entering the Control Room, you'll see an error that tells you what's wrong, so that you can fix it.
View in Control Room
To verify the publishing process succeeded completely, click View in Control Room in the confirmation screen above.
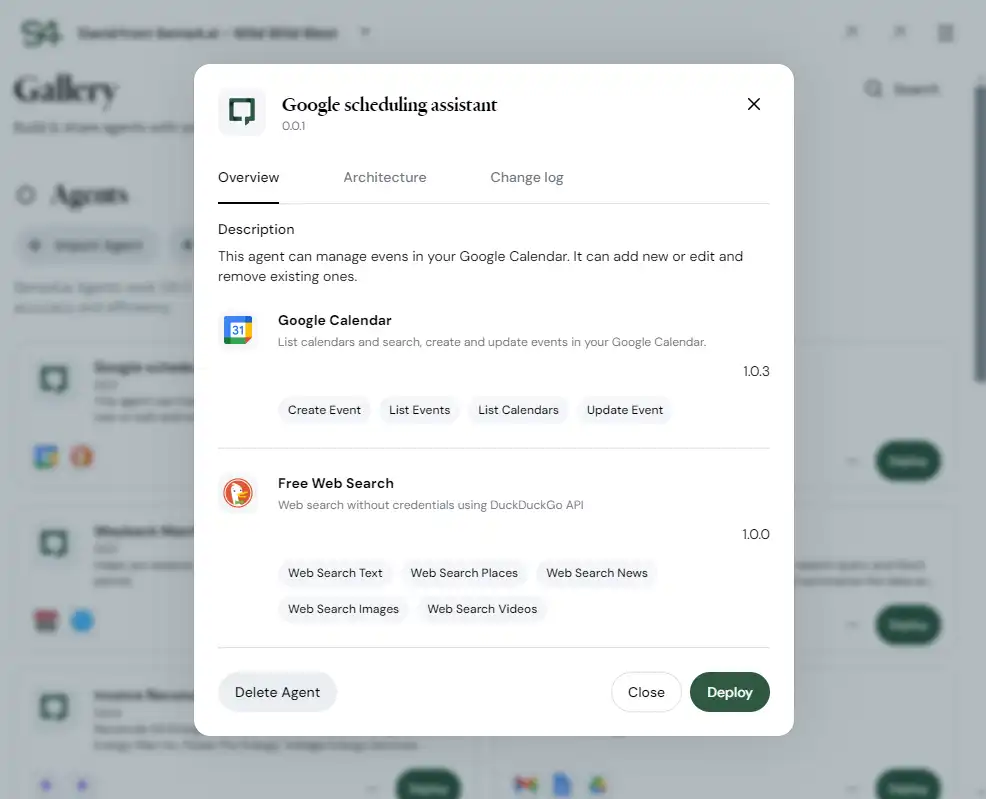
This opens a new browser tab with Control Room. Log in if needed, and you're presented with the agent details card. You can view this card any time later using the Gallery agent overview.
Congratulations, you now have your agent in the Gallery! 🙌
You can close this card, deploy it to Work Room right away, or delete the agent if you made a mistake.