Deploy your agent
To make an agent available to your colleagues in Work Room, you deploy it from Control Room to a chosen Workspace. In this section, you'll see all the necessary steps to deploy an agent successfully.
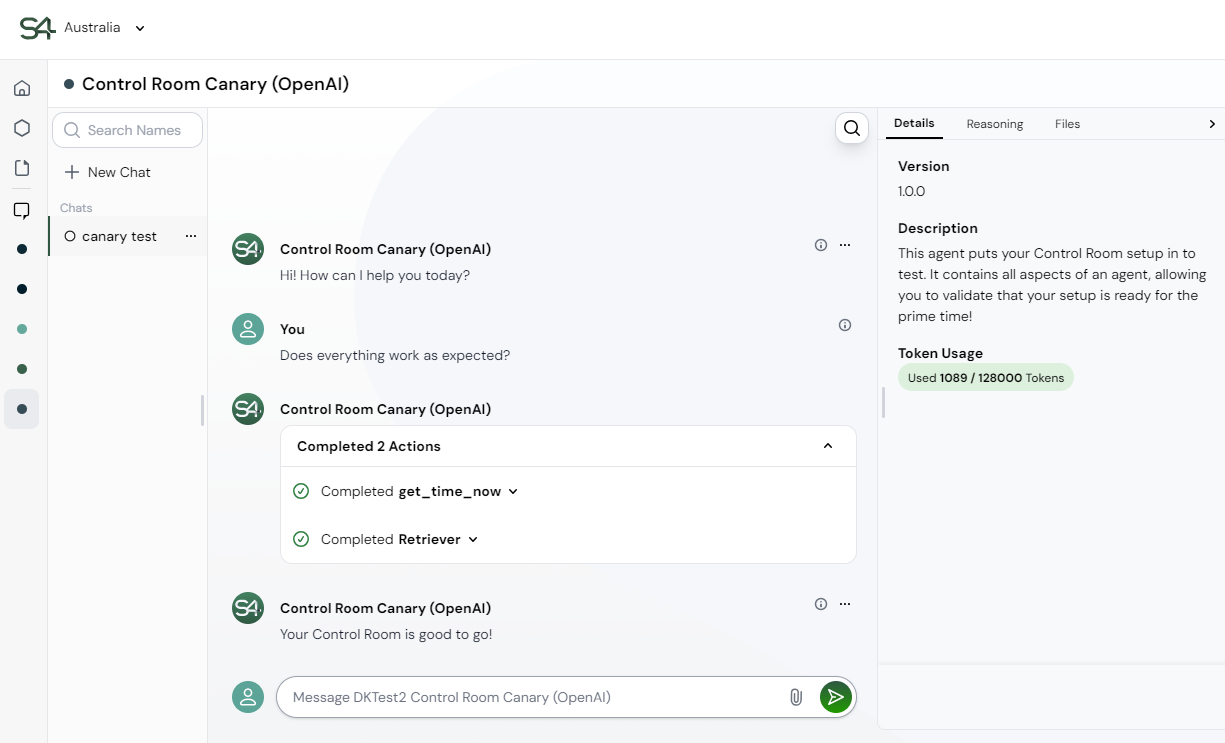
For illustration purposes, let's use the Canary agent provided in every Control Room installation.
The role of the pre-built Canary agent is to verify that all your settings in Control Room work as expected.
Find the Canary agent
- In Control Room, go to Gallery using the left-side navigation menu.
- Click the Search bar and type canary to filter the agents.
You now see at least one agent card with a Control Room Canary agent. You can pick a Canary agent based on the LLM you use.
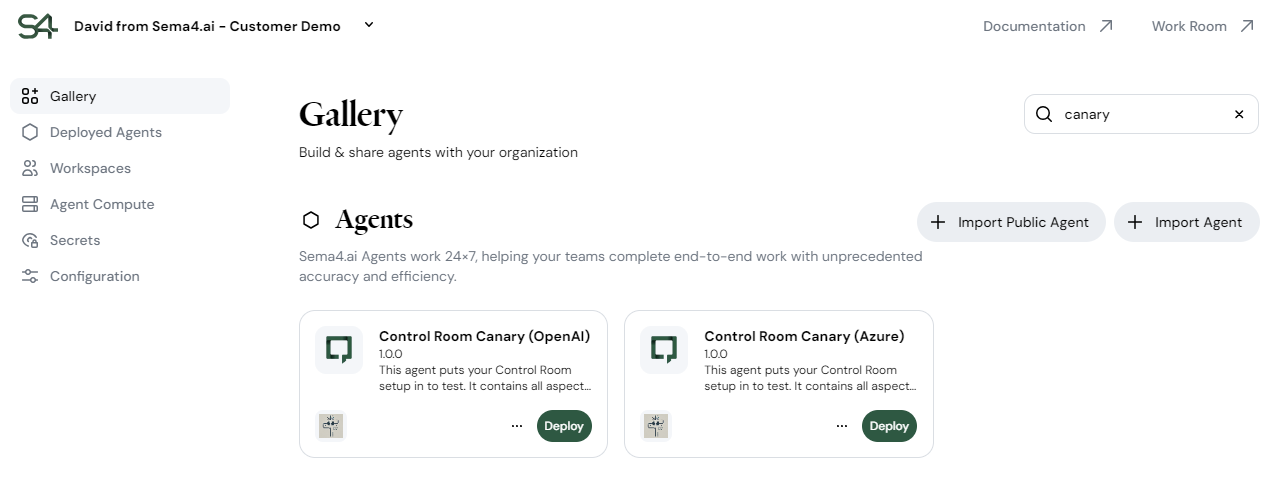
If you don't see any such agents, contact your Sema4.ai representative and we will share the latest Canary agents with you.
The deployment process is a sequence of screens that guide you through logically grouped configurations. The workflow differs slightly between conversational and worker agents. This walkthrough covers both, highlighting the differences where applicable.
Review the agent
To start the deployment, click Deploy on a Canary agent card.
This brings you to the screen with an overview of the agent you're about to deploy. This is useful to make sure you're deploying the right agent.

Beneath the screen header, you see the phases you'll go through.

Then, from the top to bottom, you see these details:
- Version - You can select the version of the agent to deploy. By default the latest version.
- here: 1.0.0
- Name and description are shown as the agent's creator wrote them. You can change them in the next step. here: Control Room Canary (OpenAI) and This agent puts your Control Room setup in to test…
- LLM - The LLM model and its provider the agent is set up with.
- here: OpenAI / gpt-4o
- Actions - The list of actions the agent uses. They may hint at what kind of connections this agent will make to your enterprise app.
- here: Control Room Test
- Knowledge - Knowledge files included in the agent.
- here: molkky-game-rules.pdf (rules of the Finnish Mölkky game)
- Architecture - The type of the agent architecture. Current options are Assistant and Plan and Execute.
- here: Assistant
Why can't I see the runbook here?
Control Room can't display agent runbooks because it doesn't access your private data. While the Control Room interface runs on Sema4.ai infrastructure, your agents and data are stored in your private VPC. Control Room only accesses non-sensitive metadata, like agent names and actions.
Click Continue when done reviewing the information on this screen.
Configure deployment
On the next screen, you can adjust the agent name and description and must select a workspace and LLM configuration.
Additionally, you can select feedback recipients in case you configured the email sending capability.

- You can edit the name and description for this particular deployment to personalize the agent specifically for the people who'll use it. For instance, an agent may have different use cases in various workspaces, like Finance and HR.
- Select the workspace to deploy the agent to. Pick a workspace based on who's going to work with the agent.
- Select an LLM configuration. You may see multiple options in the menu based on your Control Room configuration. Only the options compatible with the LLM type required by the agent are shown.
- (optional) Fill in feedback recipients for the agent. If you didn't configure the email sending previously, you can still do it from here. Click Configure email sending. We highly recommend you enable this option.
Want to automate feedback reception?
Direct feedback to your ticketing system, whether it's ServiceNow, Jira, Zendesk, Linear, or another tool. Most systems support incoming emails to create new tickets.
In case an action in the agent package requires OAuth2 app configuration, you'll see another option beneath the email feedback setup. Here, you are to select an OAuth2 client configuration for the action to use.
If you don't have the suitable configuration prepared, cancel the deployment and create an OAuth2 client first.
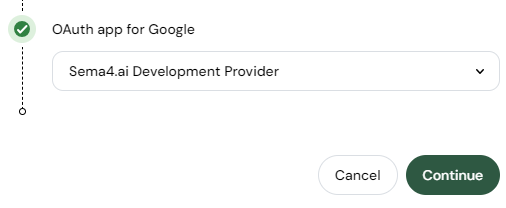
Once done, click Continue to more forth.
Configure actions
The next screen is dedicated to actions. If your agent actions don't require any API keys or login credentials, there's nothing to do here. On the other hand, if they do require such a configuration, this is the step to set it all up.
Our Canary agent uses an action to get the current time. This action requires an API key for the service it fetches the current time from.
To simplify the process, the key is written in the description of the action. Under non-test circumstances, you'd get the required API key the same way you do when you test the agent in Studio or VS Code.
To set up the Control Room Test action in the Canary agent:
- Copy the API key value
sema4ai-4evafrom the action description. - Paste the key to the
api_keyfield lower on the screen.
Once you have the actions configured, click Deploy.
After this step, agent deployment to Work Room begins. The deployment may take a minute or two.
Once the deployment is done, you see you agent detail in the Deployed Agents section of Control Room.
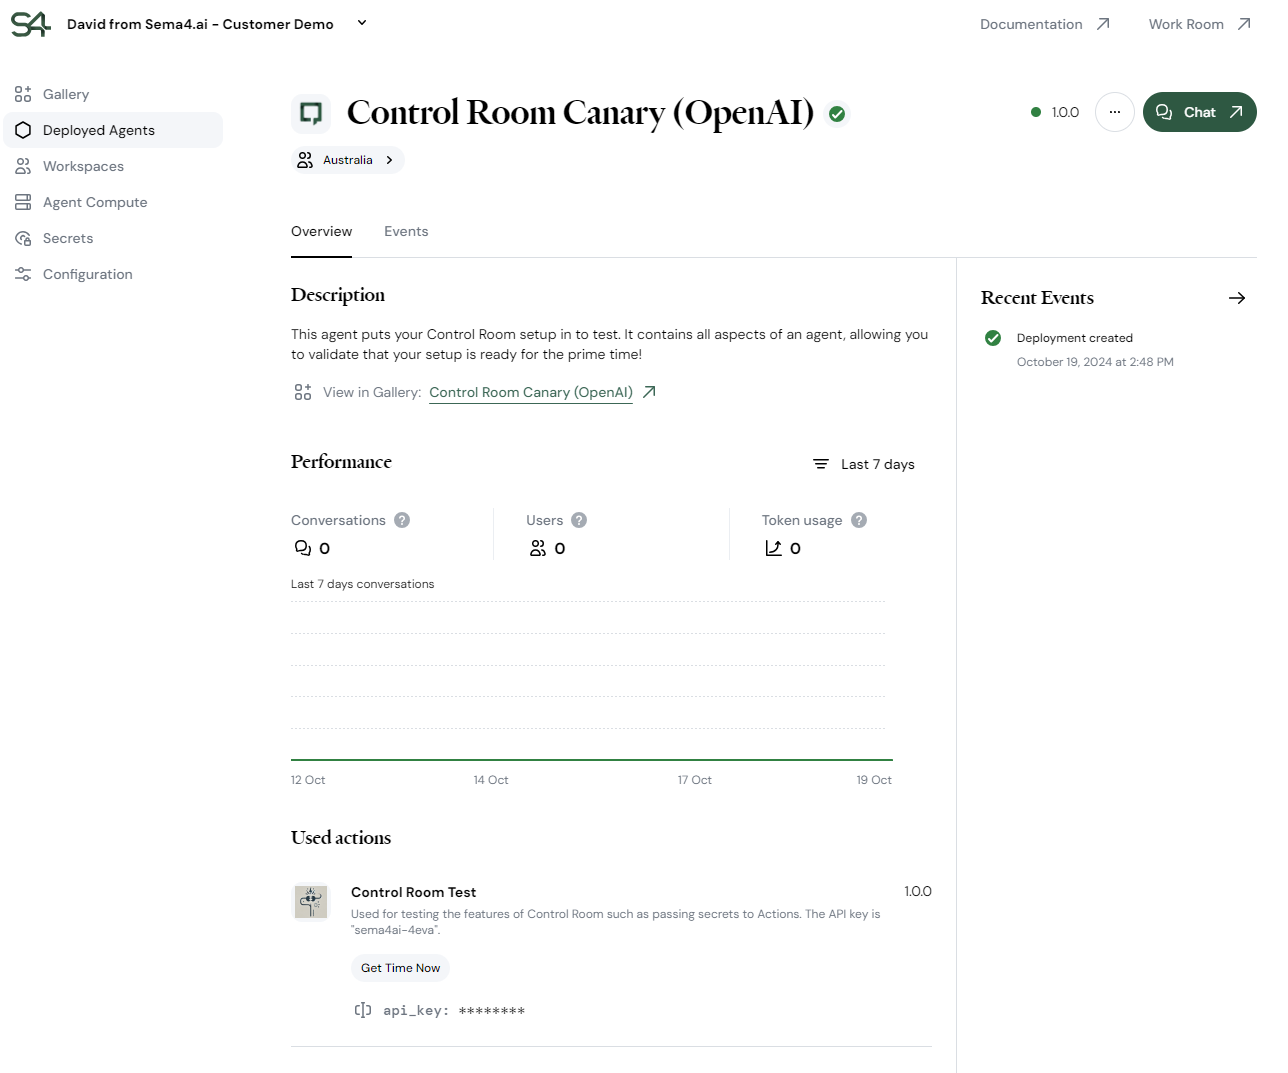
Click the green Chat button in the top right to go to Work Room and test the agent out.
To share a deployed agent with colleagues who have access to the workspace, copy the link on the chat button or the URL of your tab with the agent in Work Room.