Publish your AI agent to Control Room
Ready to share your agent with your team? Once you have built and tested your AI agent, it's time to share it with the rest of your organization. Publishing to Control Room transforms your agent from a locally tested solution into an enterprise-ready asset that can scale across your organization. This critical step bridges your development environment with your production ecosystem, enabling team collaboration, providing enterprise governance, and allowing for widespread deployment to business users through Work Room.
In this quick start guide, you'll learn how to connect Studio to Control Room and publish your agent with just a few clicks.
Connect Studio with Control Room
Before publishing, you'll need to establish a connection between Sema4.ai Studio and your Control Room. By linking Studio to Control Room, you can streamline agent deployment, access real-time monitoring, and maintain governance with built-in access controls and audit trails.
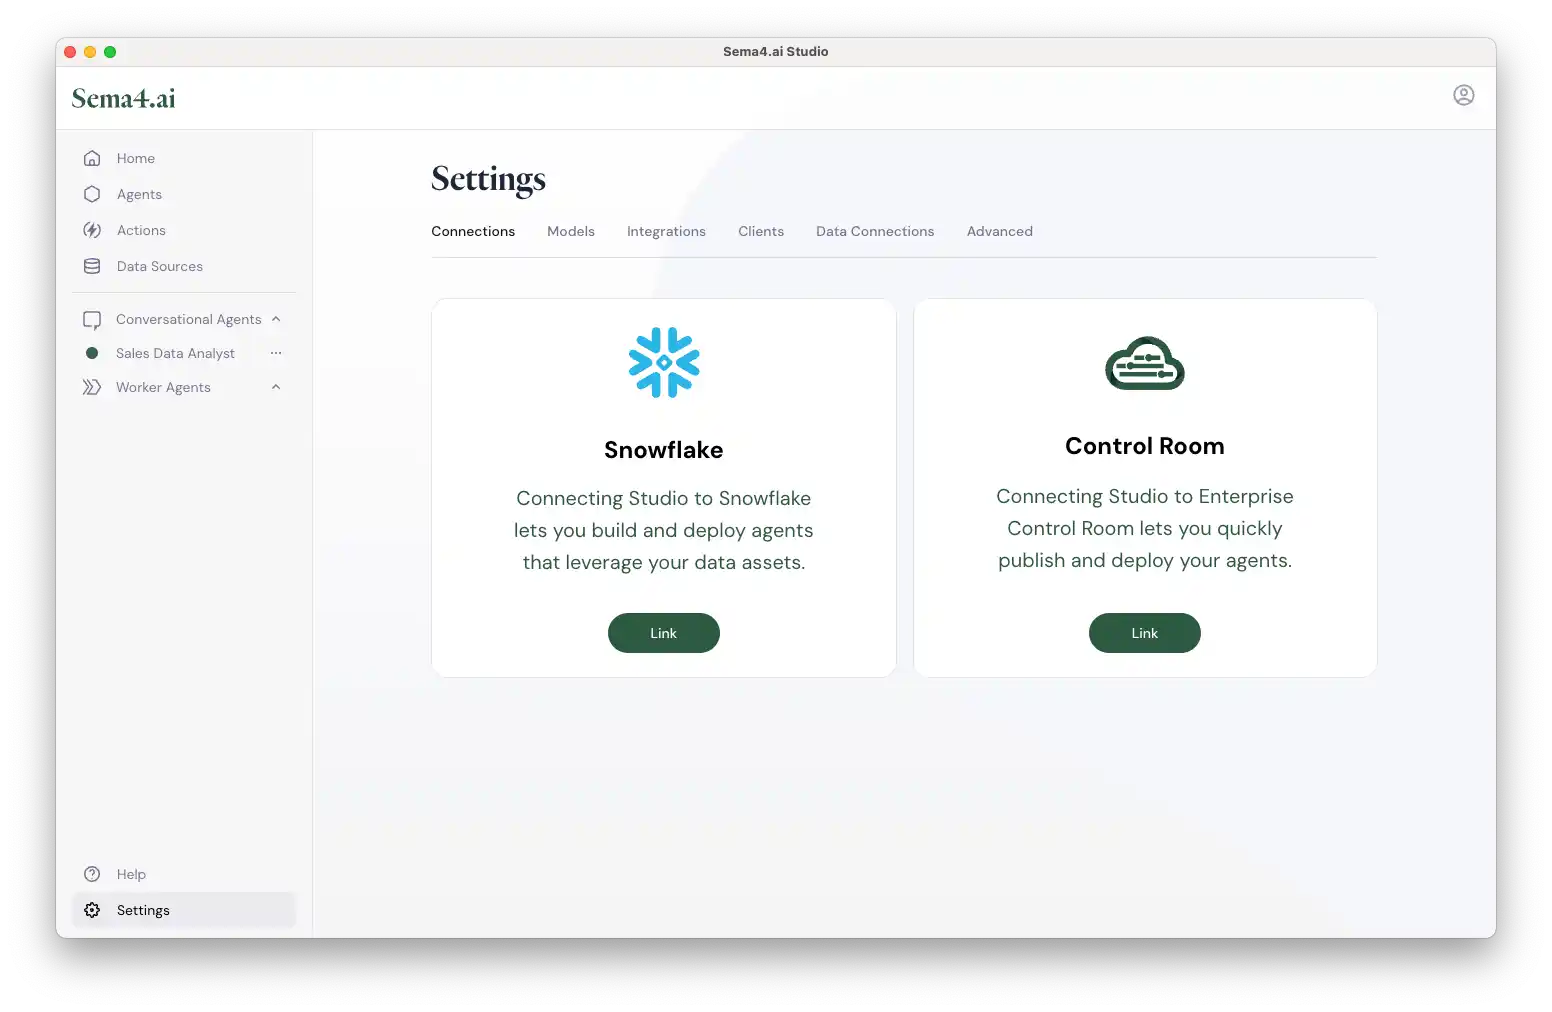
- In Studio, click Settings in the bottom-left corner of the screen.
- In the Connections tab, Click the Link button in the Control Room card.
- Type the subdomain of your organization's Control Room.
Alternatively, you can link Studio and Control Room using access credentials. - Click Sign in with SSO.
- In the browser window that opens, confirm the linking by logging into Control Room.
- Return to Studio.
Once authenticated, you will see a confirmation message indicating that Studio is successfully connected to Control Room.
Briefly after that, you get to select which workspace you want to connect to Studio. Select a workspace and click Confirm.
Linking Studio to Control Room using access credentials
If you can't link Studio with Control Room using the standard procedure above, try manual linking using a secret key:
- In Studio > Settings > Control Room, type the subdomain of your organization's Control Room.
- Click Link using access credentials.
- In the popup that opens, click Manage Credentials.
- In the browser window that opens with Control Room linking screen, click Manual Linking.
- Copy the key using the button on the right side.
- Switch back to Studio and paste the key into the Access Credential input field.
- Click Link.
Publish from Studio
Now that your Studio is connected to Control Room, publishing your agent is straightforward:
- In Studio, go to Agents screen.
- Under My agents, locate the card of an agent you want to publish.
- Click button on the card and select Publish.
After this step, you're prompted to assign a version number to the agent. Unless you need to assign it manually, you can leave the pre-filled value as it is.
The agent version you publish to Control Room always needs to be higher than the last one already in Control Room. You can specify it manually or let Studio auto-increment it for you.
To finish the publishing process, click Publish . Studio verifies the agent structure at this point and once done, you get a confirmation that the agent is published.
Congratulations, you now have your agent in the Gallery of your Control Room workspace.
What's next
You've successfully published your agent to Control Room, making it available in the Gallery for your organization. Your agent has now transitioned from personal development to an enterprise asset ready for broader deployment. From here, team members with appropriate permissions can access your agent in the Gallery, deploy it to production environments, and make it available to business users through Work Room.