Slack
To enable AI Actions to access Slack, you need a "Slack Bot User OAuth Token." This is a non-refreshable private token associated with a Slack application. To generate this token, create a Slack application with the appropriate OAuth scopes and install the application in your Slack workspace.
Types of Slack bots
Depending on your use case, you can use one of two types of bots:
-
General purpose bot
- This bot has its own identity and behaves like a separate user within the Slack workspace.
- Messages posted by this bot appear as posted by the bot.
- To access different channels, the bot must first be added to that specific channel.
- It cannot access private DMs; however, it can access group chats as long as the bot is added to the group.
-
User identity bot
- This bot assumes your identity when making calls to Slack.
- Messages posted by this bot appear as posted by you.
- The bot has access to all resources you have access to, including public and private channels, public and private groups, and personal DMs.
- Since the bot shares your identity, it does not need to be added to a channel before it can access the history of that channel.
Create a Slack bot application
- Navigate to Slack API Apps (opens in a new tab).
- Log in with your Slack account.
- Click the Create an App button.
- Select From app manifest.
- Select the workspace where you want to use the actions.
- Depending on the type of bot you wish to have (see Types of Slack bots), copy and paste one of the following app manifests into the modal. This contains the app name, the required permission scope, and any optional settings you may like. For more information on app manifests, visit Slack App Manifests (opens in a new tab).
General purpose bot
{
  "display_information": {
    "name": "Sema4.ai Prebuild Action"
  },
  "features": {
    "bot_user": {
      "display_name": "Sema4 Agent"
    }
  },
  "settings": {
    "org_deploy_enabled": false,
    "socket_mode_enabled": false,
    "is_hosted": false,
    "token_rotation_enabled": false
  },
  "oauth_config": {
    "scopes": {
      "bot": [
        "channels:history",
        "channels:read",
        "chat:write",
        "users:read"
      ]
    }
  }
}
User Identity bot.
{
    "display_information": {
        "name": "Sema4.ai Prebuild Action"
    },
    "settings": {
        "org_deploy_enabled": false,
        "socket_mode_enabled": false,
        "token_rotation_enabled": false
    },
    "oauth_config": {
        "scopes": {
            "user": [
                "channels:history",
                "channels:read",
                "chat:write",
                "groups:read",
                "im:read",
                "im:history",
                "mpim:read",
                "users:read"
            ]
        }
    }
}
Combine both bot types
If you wish to support both a general purpose bot and a user bot within the same application, you can specify both scopes. However, you can only use one token at a time when making requests to the Slack API.
Example with both tokens:
{
  "display_information": {
    "name": "Sema4.ai Prebuild Action"
  },
  "features": {
    "bot_user": {
      "display_name": "Sema4.ai Agent"
    }
  },
  "settings": {
    "org_deploy_enabled": false,
    "socket_mode_enabled": false,
    "is_hosted": false,
    "token_rotation_enabled": false
  },
  "oauth_config": {
    "scopes": {
      "bot": [
        "channels:history",
        "channels:read",
        "chat:write",
        "users:read"
      ],
      "user": [
        "channels:history",
        "channels:read",
        "chat:write",
        "groups:read",
        "im:read",
        "im:history",
        "mpim:read",
        "users:read"
      ]
    }
  }
}
Add the bot to your workspace
- Click Create.
- Click Install to workspace.
- If you don't have permission to install the app, you will see a button labeled Request to Install. If you click this button, a notification will be sent to the workspace admin to install the app.
- Click Allow to authorize the application for the selected workspace in the pop-up window that appears.
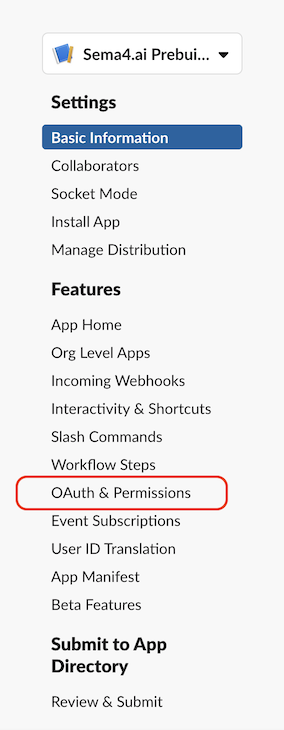
- On the left sidebar, click on OAuth & Permissions. This will redirect you to a page with the access token.
You can now see the access token:
- For general purpose bot, you need to use the
Bot User OAuth Token.

- For user identity bot, you need to use the
User OAuth Token.
