Set up Sema4.ai Studio
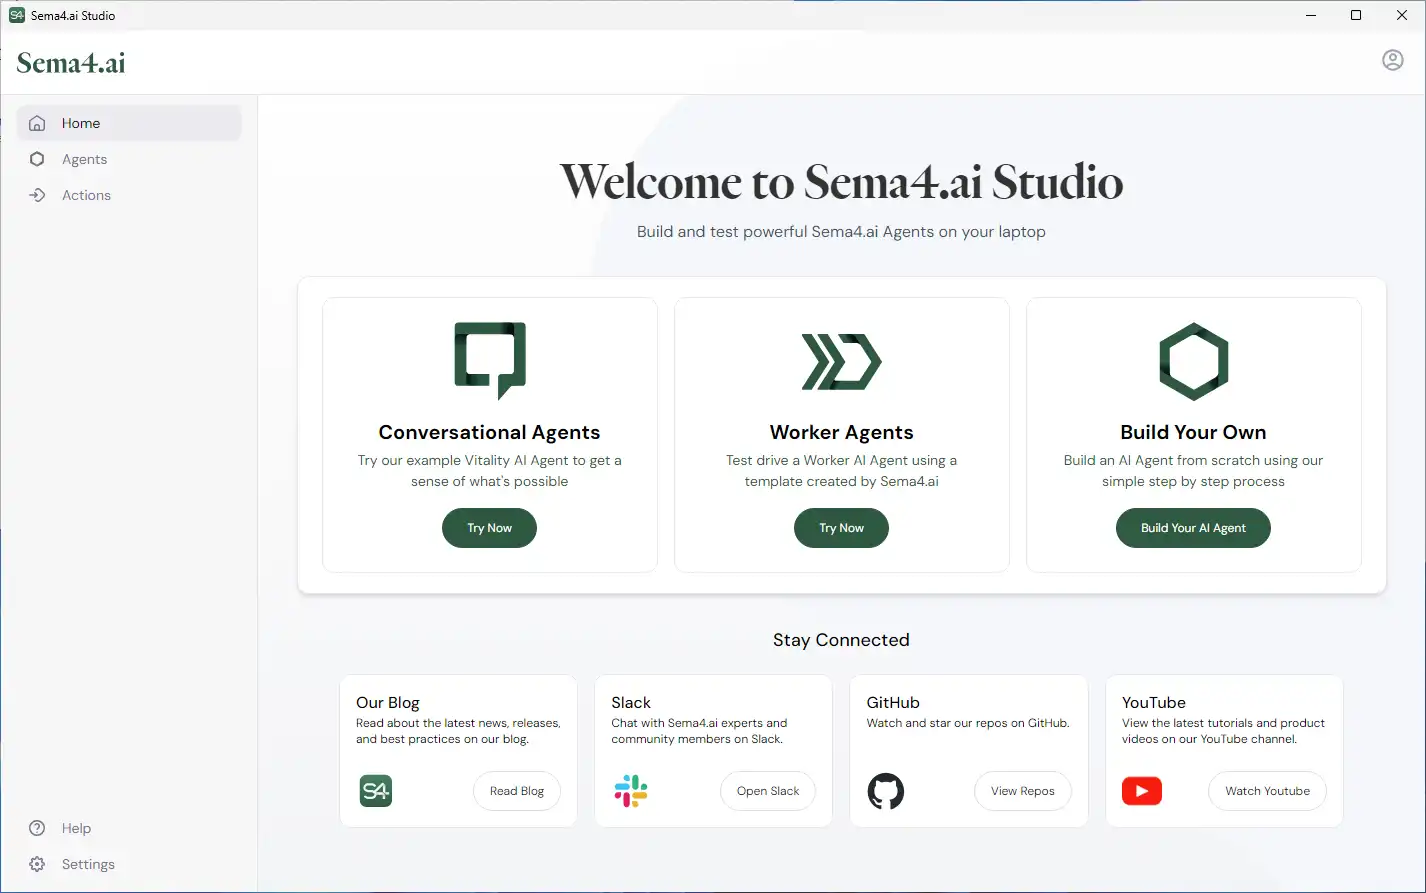
To build AI agents, you need Sema4.ai Studio. Studio enables you to build and test your AI agents on your local machine.
System requirements
Before you begin, ensure your computer meets the following minimum requirements:
macOS | Windows | |
---|---|---|
Version | macOS Sonoma, Ventura, and Monterey | Windows 10 or later |
RAM | 16 GB of RAM | 16 GB of RAM |
CPU | Apple silicon | Intel i5/i7 or AMD Ryzen 5/7 (or equivalent) |
Studio does not support multiple simultaneous user sessions, like shared virtual desktop machines
Install
Follow these steps to install Studio on your computer.
- Reach out to your Sema4.ai sales representative to get the Studio download link, or submit a request to join our RAD program (opens in a new tab).
- Double-click the installer to launch the installation.
- Read and accept the End User License Agreement (EULA).
- Proceed with the installation steps as prompted by the installer to finish installation.
Launch
Find the installed application in your system menu and launch it.
- macOS: Open the Applications folder in Finder, locate "Sema4.ai Studio", and double-click the application icon. If prompted, click "Okay" to proceed.
- Windows: Open the Start menu, search for "Sema4.ai Studio", and click the application entry. If prompted by Windows Defender, click "Run Anyway" to proceed.
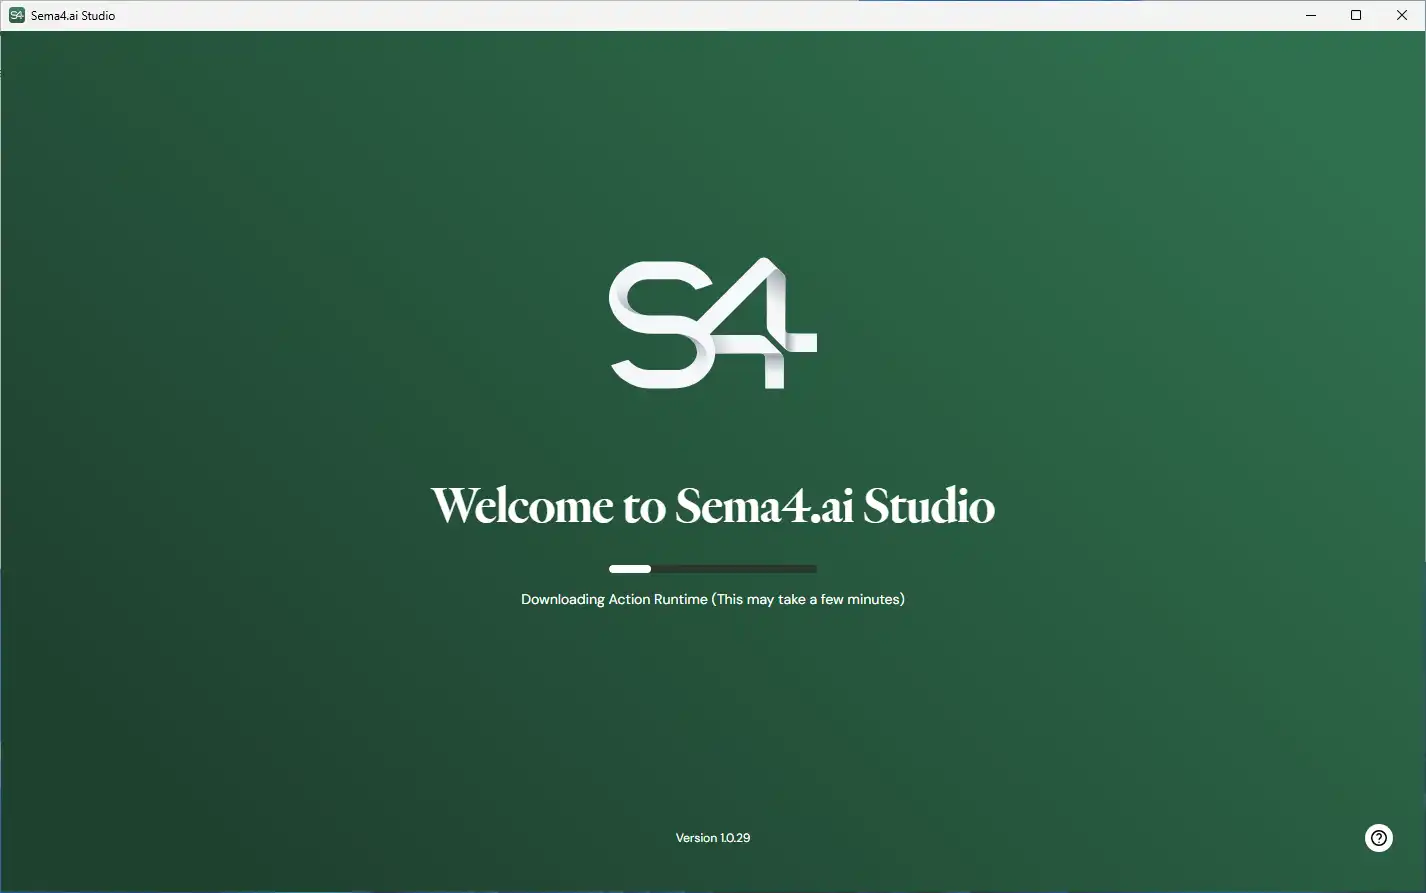
It may take time to complete downloading and validating the environment used to run agents and actions. Depending on your computer's Internet connection speed and resources, this step may take several minutes. This only happens the first time the application launches.

Configure
Configure LLMs
Every AI agent needs an LLM(Large Language Model) to work. To simplify creating agents in Studio, we suggest you devote a few minutes now to configure your first LLM.
After you've created your first LLM configuration, you can use reuse it each time you create or edit an agent.
First, talk to your team to find out which LLM your organization's approved to use and obtain the API keys or endpoint URLs.
If you don't have the required credentials, talk to your manager or the person who takes care of licenses within your organization.

- In Studio, click Settings in the bottom-left corner of the screen.
- Select the Models tab.
- Click Models button.
- Name the model. For instance, My OpenAI LLM.
- Select a configuration type and provider based on the LLM you're setting up.
- Type or paste the credentials into the corresponding fields.
- Click Test to verify the configuration works.
- Click Save Model.
Connect Studio with Control Room
Connecting Studio to Control Room enables you to publish and deploy agents. Control Room provides a central management point for agents allowing you to monitor and manage agents at scale. By linking Studio to Control Room, you can streamline agent deployment, access real-time monitoring, and maintain governance with built-in access controls and audit trails.

- In Studio, click Settings in the bottom-left corner of the screen.
- Select the Control Room tab.
- Type the subdomain of your organization's Control Room.
Alternatively, you can link Studio and Control Room using access credentials. - Click Sign in with SSO.
- In the browser window that opens, confirm the linking by logging into Control Room.
- Return to Studio.
Once authenticated, you will see a confirmation message indicating that Studio is successfully connected to Control Room.
Briefly after that, you get to select which workspace you want to connect to Studio. Select a workspace and click Confirm.

Having trouble linking Studio with Control Room using SSO?
If you can't link Studio with Control Room using the standard procedure above, try manual linking using a secret key:
- In Studio > Settings > Control Room, type the subdomain of your organization's Control Room.
- Click Link using access credentials.
- In the popup that opens, click Manage Credentials.
- In the browser window that opens with Control Room linking screen, click Manual Linking.
- Copy the key using the button on the right side.
- Switch back to Studio and paste the key into the Access Credential input field.
- Click Link.