Installing Sema4.ai Studio and SDK
Before building your first agent, you'll need to install and configure a few tools. This guide walks you through installing Sema4.ai Studio and the Sema4.ai SDK.
-
Sema4.ai Studio: This is the primary environment for building AI agents. It provides a user-friendly interface for business process owners and developers to create, test, and deploy agents using natural language and code.
-
Sema4.ai SDK: The Software Development Kit (SDK) is a set of development tools and libraries that allow you to extend the capabilities of your AI agents. It enables you to create custom actions, integrate with various data sources, and build more complex functionalities for your agents.
Before you start
Make sure you have the following:
- A Snowflake account with access to the Sema4.ai Team Edition app
- Your administrator has provided you instructions on how to link your Studio to Snowflake
Install Sema4.ai Studio
Download and install Sema4.ai Studio from the link that you can find in the Control Room or that has been provided in your invitation email or by your Sema4.ai point of contact. The application is available for both macOS and Windows.
You can also watch our tutorial video here (opens in a new tab) to see how to install Sema4.ai Studio and link it to your Snowflake account.
Install
- Double-click the installer and follow the on-screen instructions
- Accept the End User License Agreement (EULA)
- Launch Sema4.ai Studio from your Applications folder (macOS) or Start menu (Windows)
- Wait for the initial environment setup to complete (first launch will take several minutes)
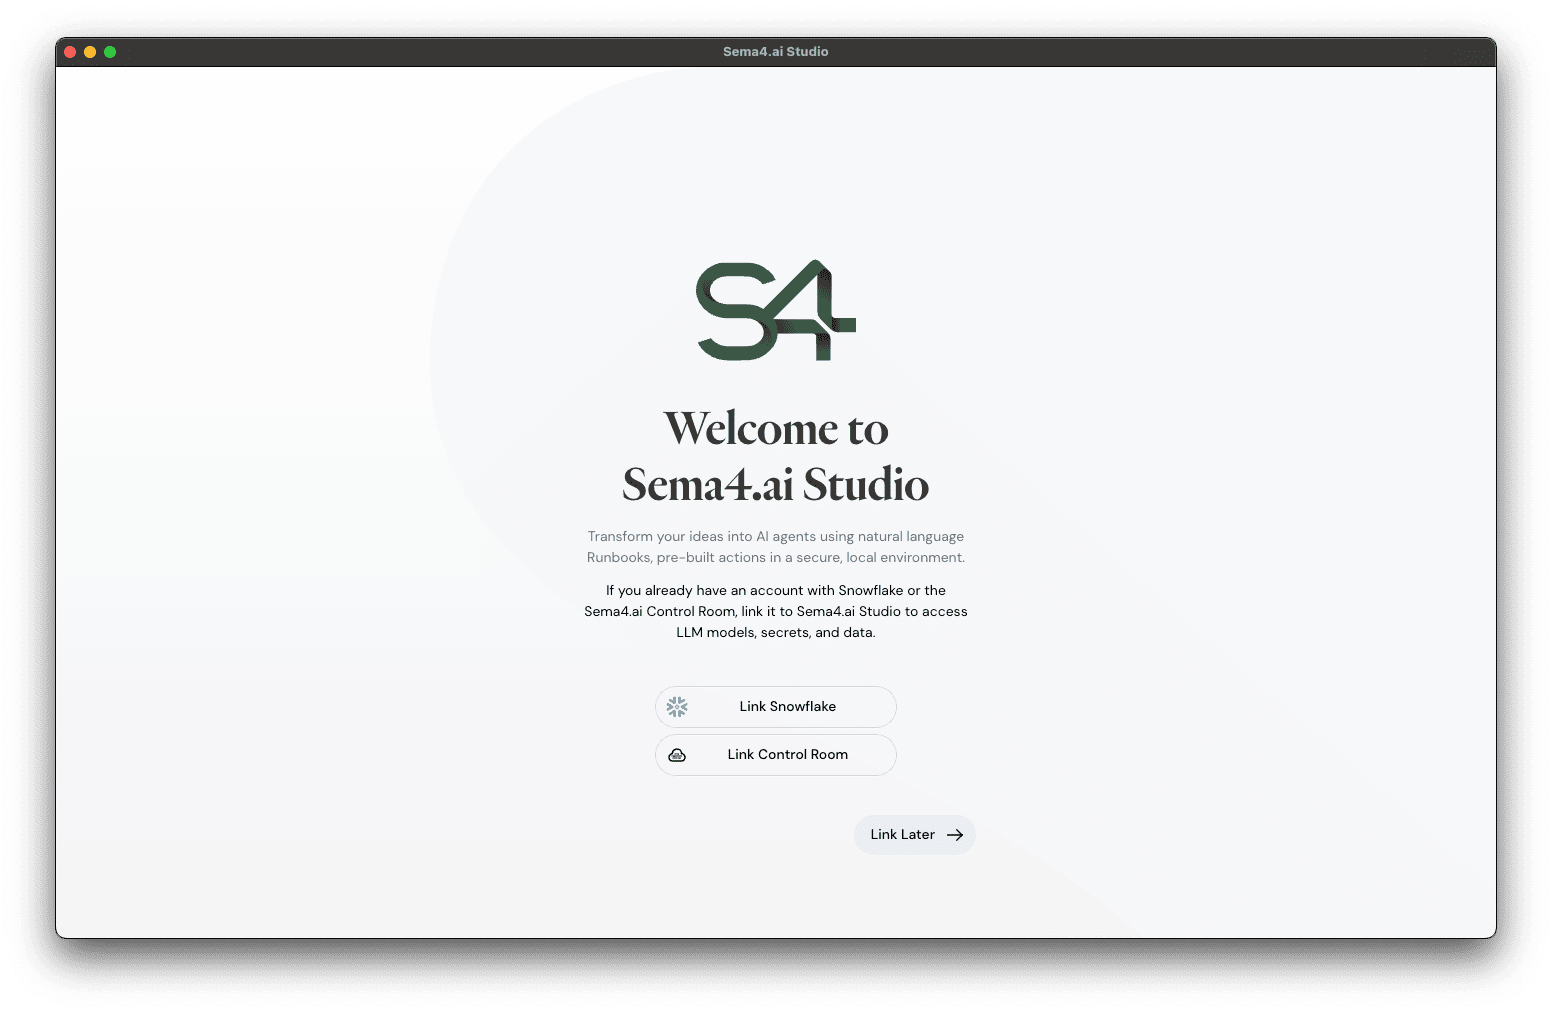
- You will see a welcome screen like this:
Link to Snowflake
By linking Studio to your Snowflake account you'll get access to resources such as Cortex AI LLM models, your Snowflake databases and services. Click Link Snowflake and follow the steps below.
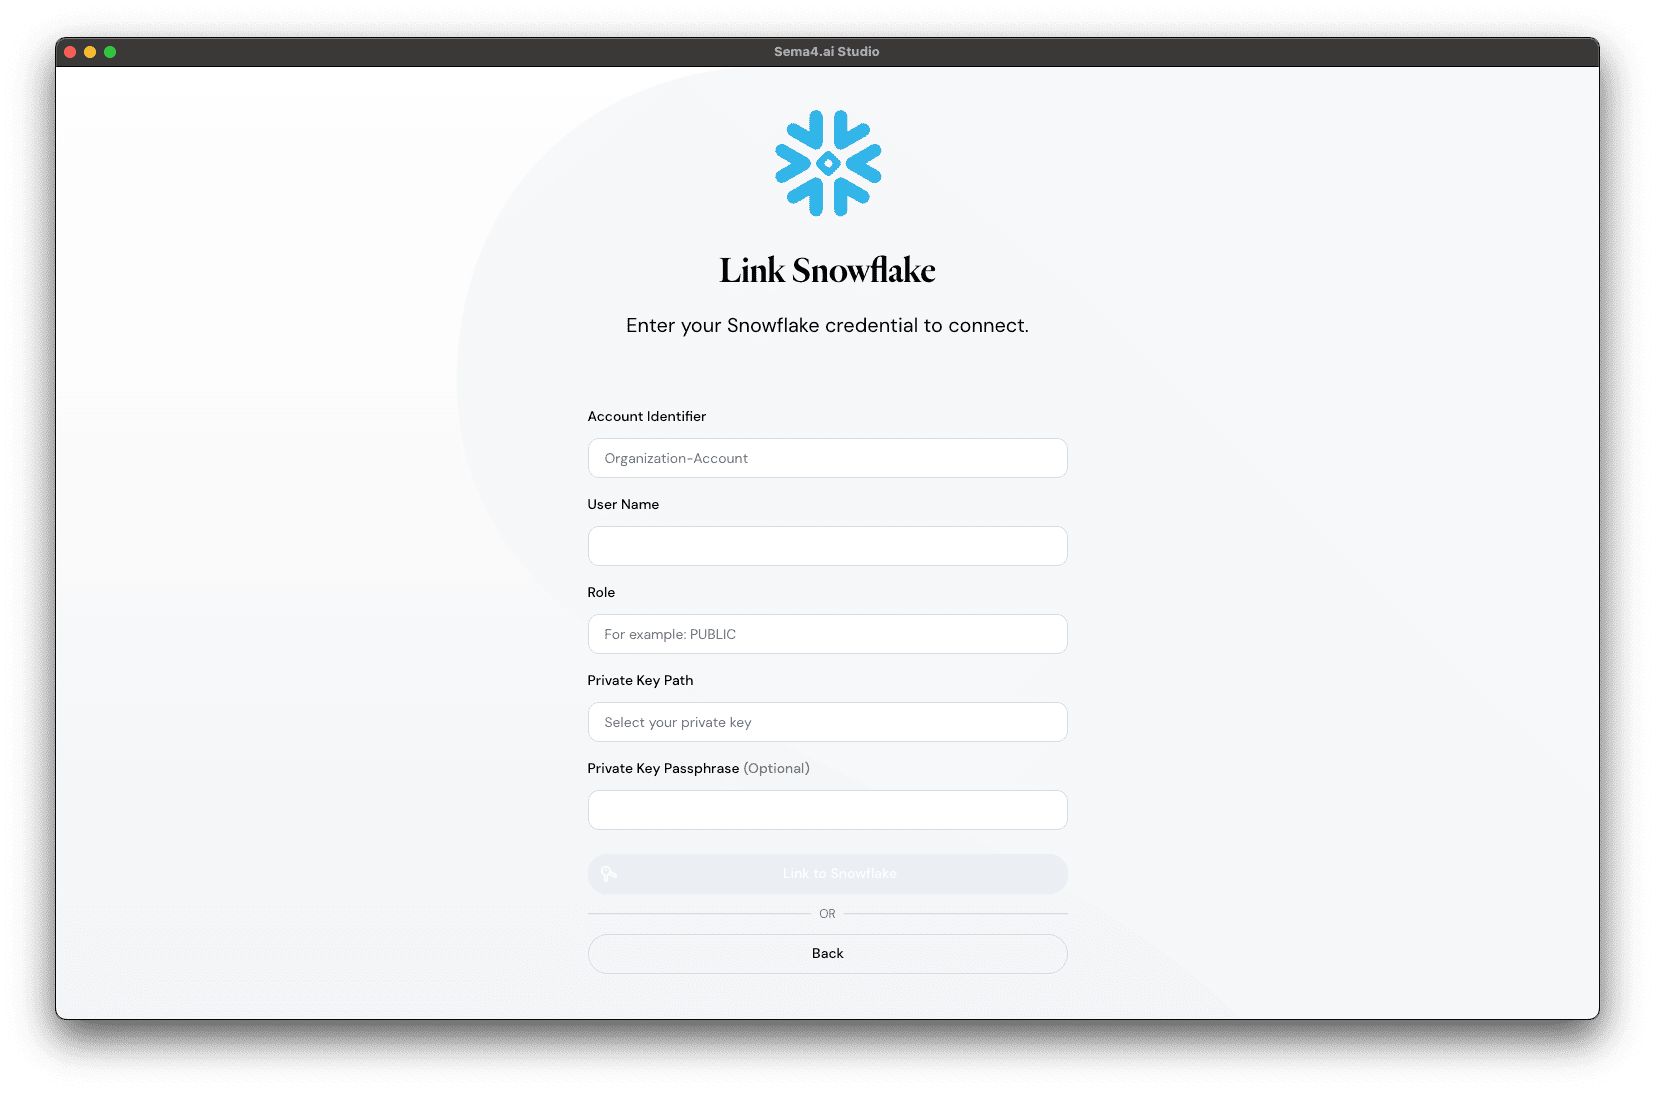
Choose the method to link that your administrator has provided you. Follow the detailed documentation for each of the method if needed.
Once you have provided the required information, your connection gets verified, and if all works well, you'll see a message confirming that you're connected. Your Studio is now ready to use!

Install Sema4.ai SDK
If you are planning to build custom actions or named queries, you'll need to install Sema4.ai SDK. Sema4.ai SDK is available as a VS Code extension, and it also works with Cursor. The screenshots in this tutorial are from Cursor, but the steps are the same for VS Code.
Install IDE and extensions
- Download and install VS Code (opens in a new tab) or Cursor (opens in a new tab) IDE unless you already have one installed
- Install two Sema4.ai extensions either from the marketplace links below, or by searching for
Sema4.aiwithin the extensions tab in the IDE.
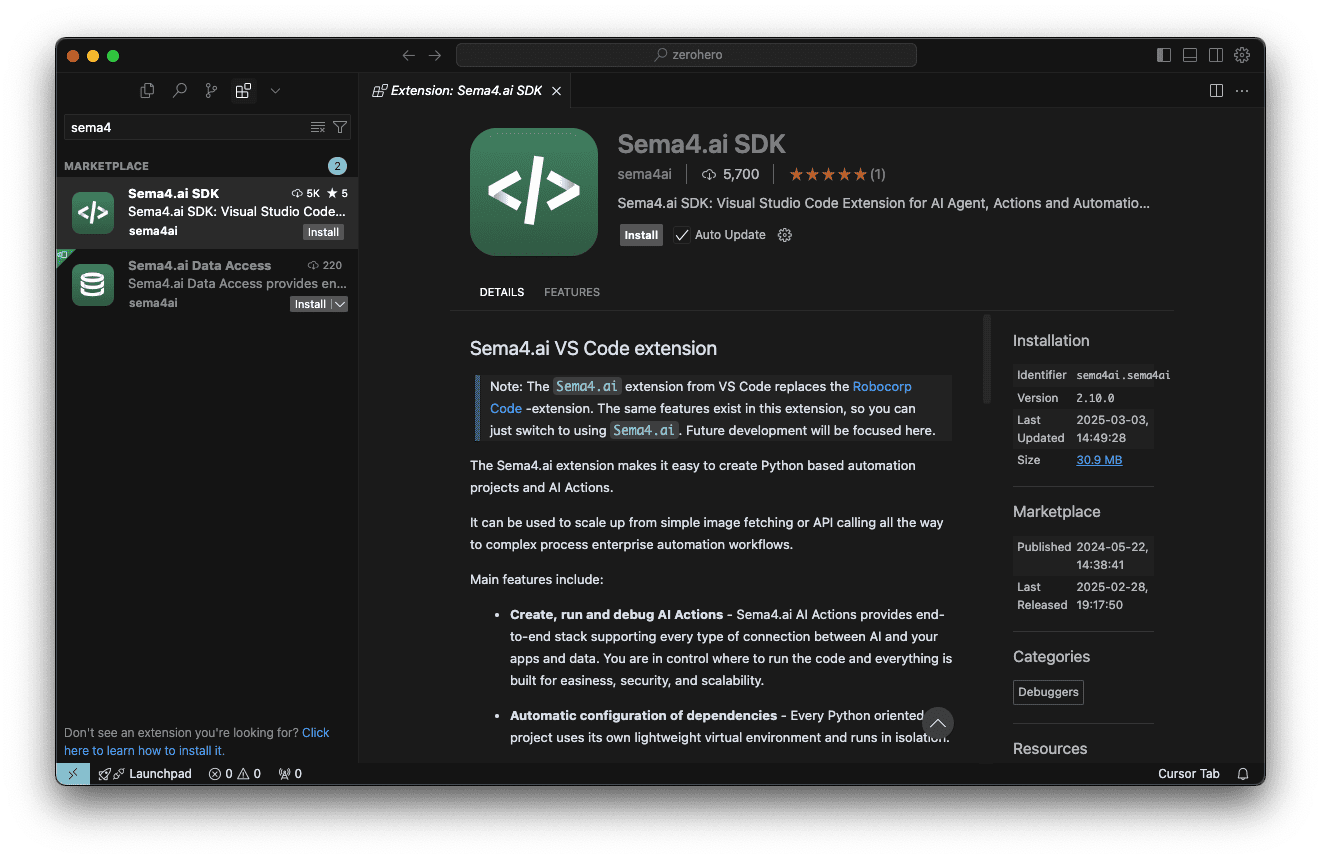
Links to the extensions:
- Sema4.ai SDK (opens in a new tab) (this is the main extension for building agents and actions)
- Sema4.ai Data Access (opens in a new tab) (this manages connectivity to data sources)
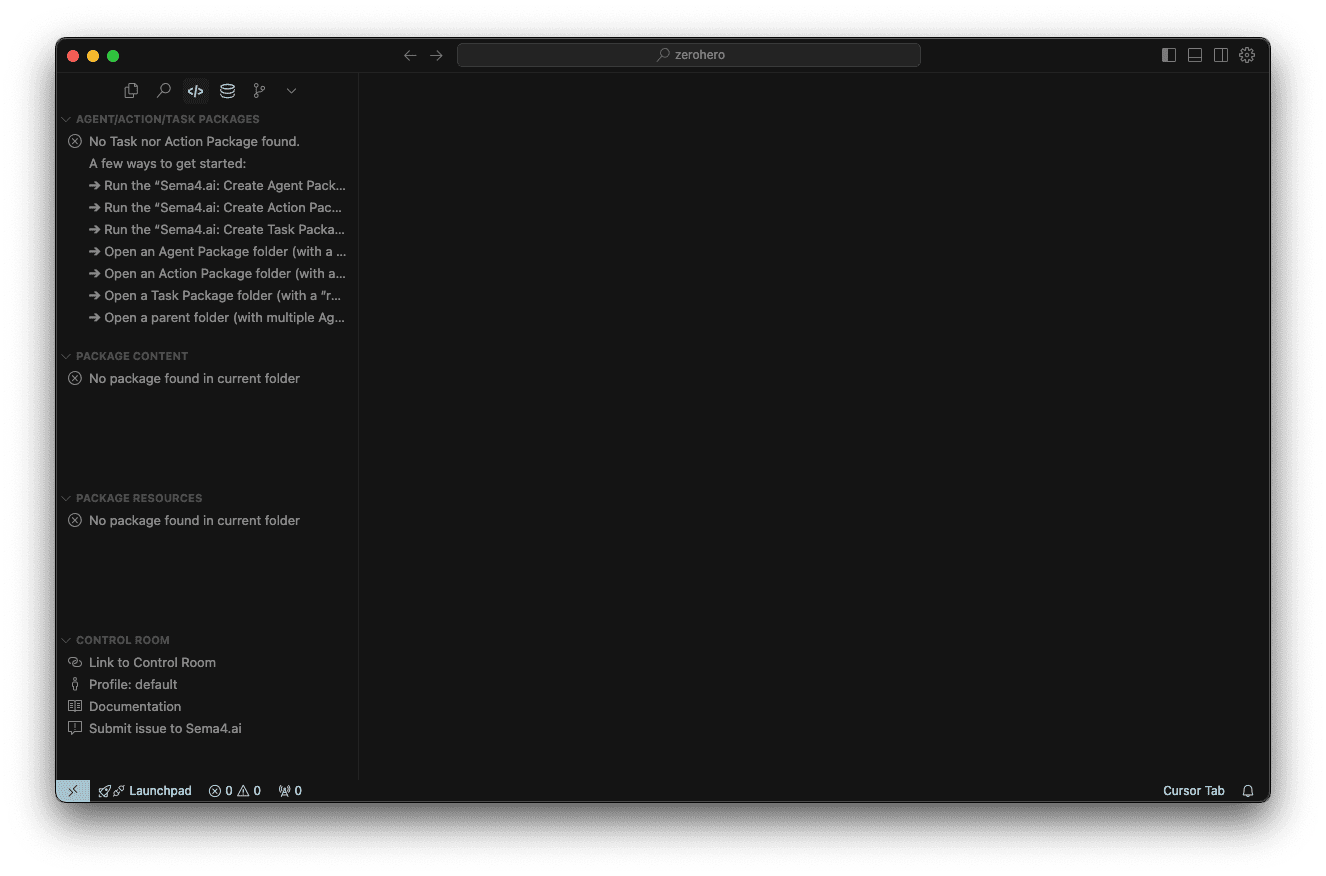
Verify installation
Once installed, make sure you open your IDE in an empty directory, then navigate to the SDK extension in the navigation bar. You should see a view like this: