User guides, tutorials, and demo
Build your first AI agent
Welcome! Ready to build your first AI agent? Let's dive in and get you up and running in minutes! Sema4.ai Studio makes this possible by transforming your ideas into powerful AI agents using just natural language instructions. No coding required. This quick start guide will take you from installation to testing a fully functional AI agent through intuitive steps on your local machine.
You'll learn how to:
- Install Sema4.ai Studio
- Build your first agent from the scratch
- Work with a natural language runbook
- Use prebuilt actions
- Test your agent locally
System requirements
Before you begin, ensure your computer meets the following minimum requirements:
| macOS | Windows | |
|---|---|---|
| Version | macOS Sonoma, Ventura, and Monterey | Windows 10 or later |
| RAM | 16 GB of RAM | 16 GB of RAM |
| CPU | Apple silicon | Intel i5/i7 or AMD Ryzen 5/7 (or equivalent) |
Studio does not support multiple simultaneous user sessions, like shared virtual desktop machines
Install Sema4.ai Studio
Download and install Sema4.ai Studio from the link provided in your invitation email or by your Sema4.ai point of contact. The application is available for both macOS and Windows.
Install
- Double-click the installer and follow the on-screen instructions
- Accept the End User License Agreement (EULA)
- Launch Sema4.ai Studio from your Applications folder (macOS) or Start menu (Windows)
- Wait for the initial environment setup to complete (first launch will take several minutes)
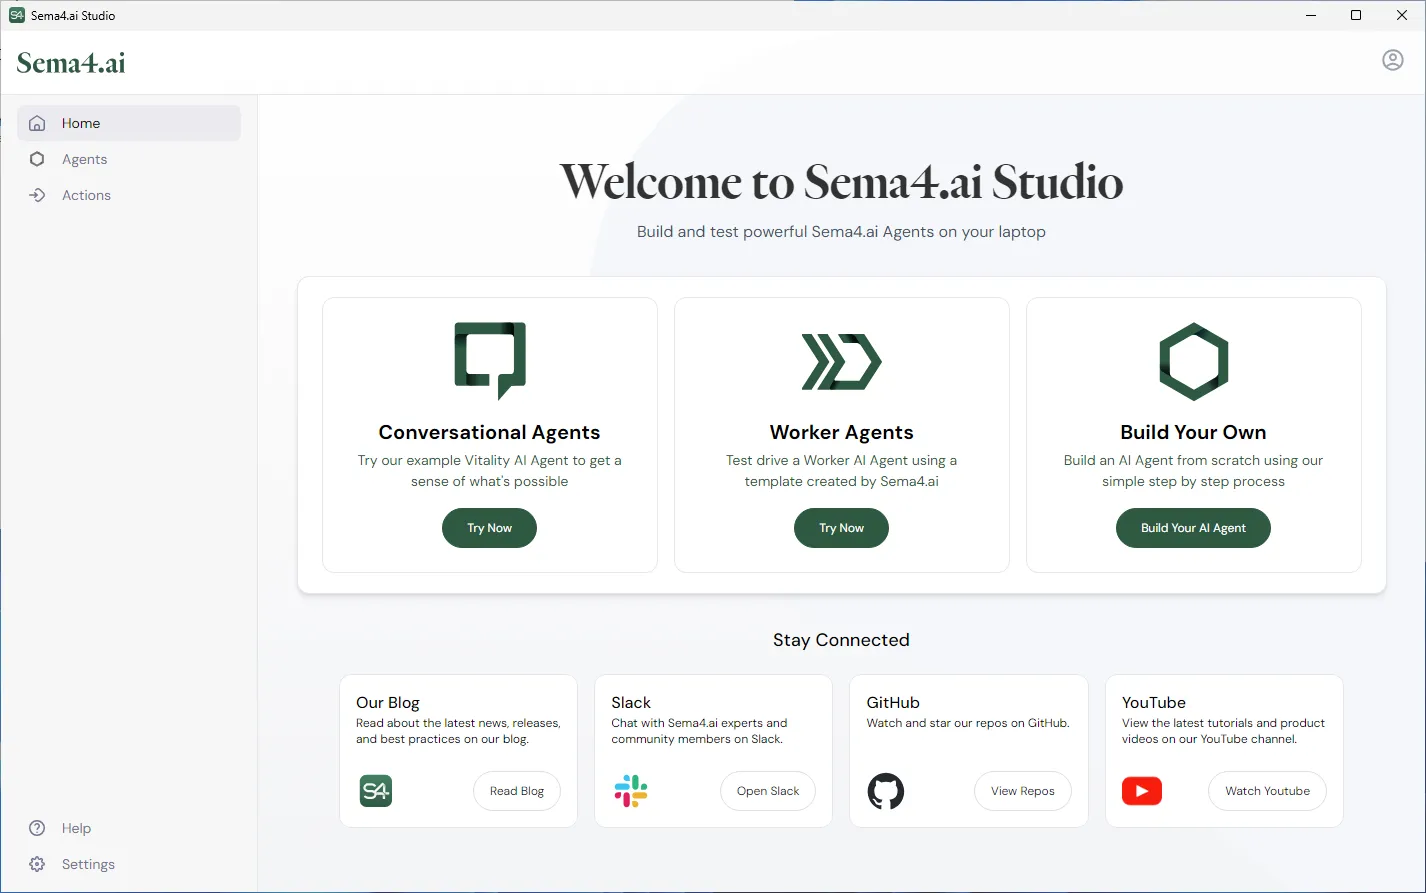
- You will see a welcome screen like this:
Build a new agent
Now that we have Sema4.ai Studio setup, let's build your first AI agent! We are going to build one from scratch (but worry not, all details are provided in the tutorial).
- Navigate to the Agents screen from the main navigation
- Under My Agents tab, click button.
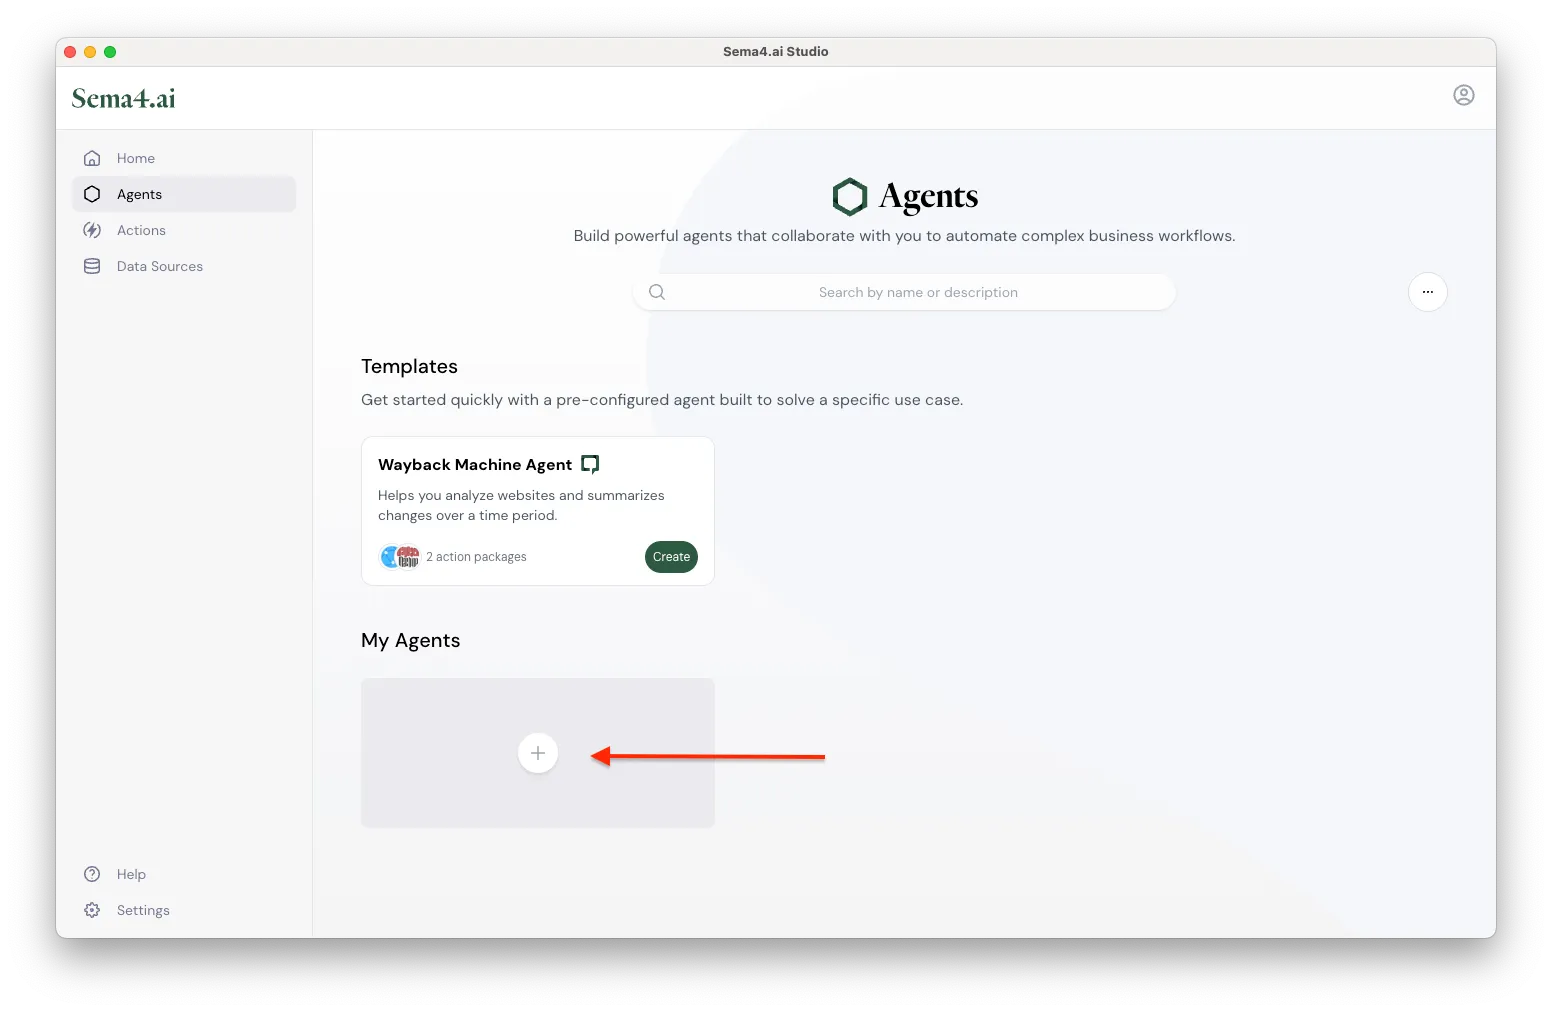
Create new agent - Choose Conversational as the agent type.
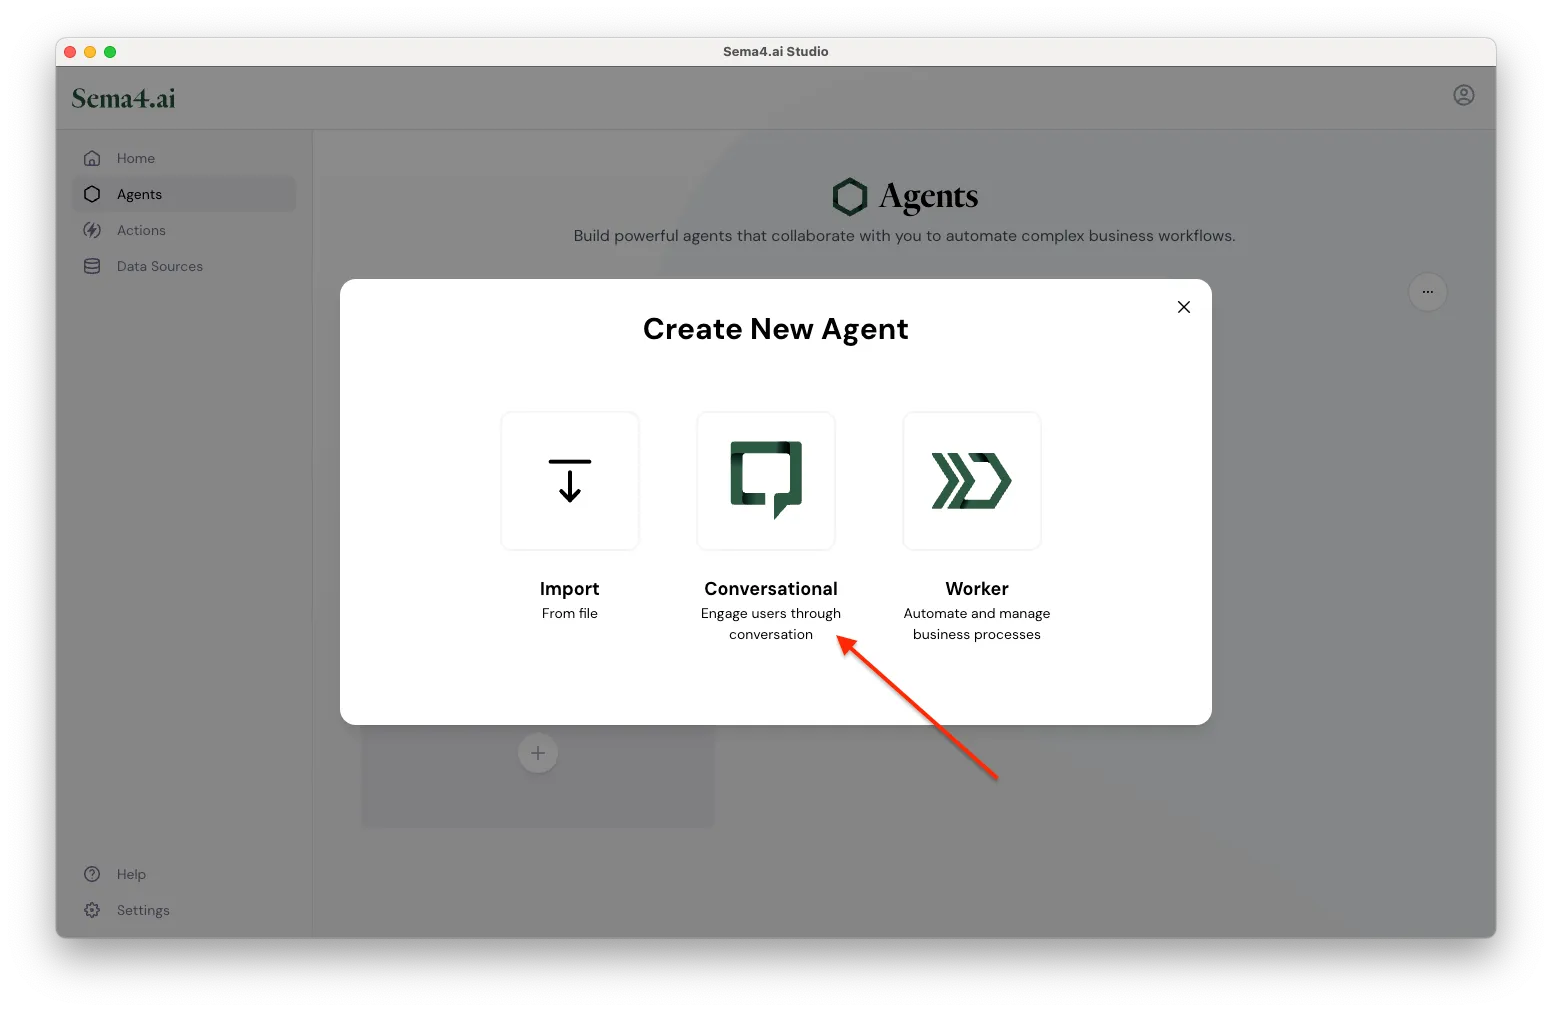
Choose agent type - Give your agent a name, for example
Sales Data Analyst. - Give your agent a description, for example
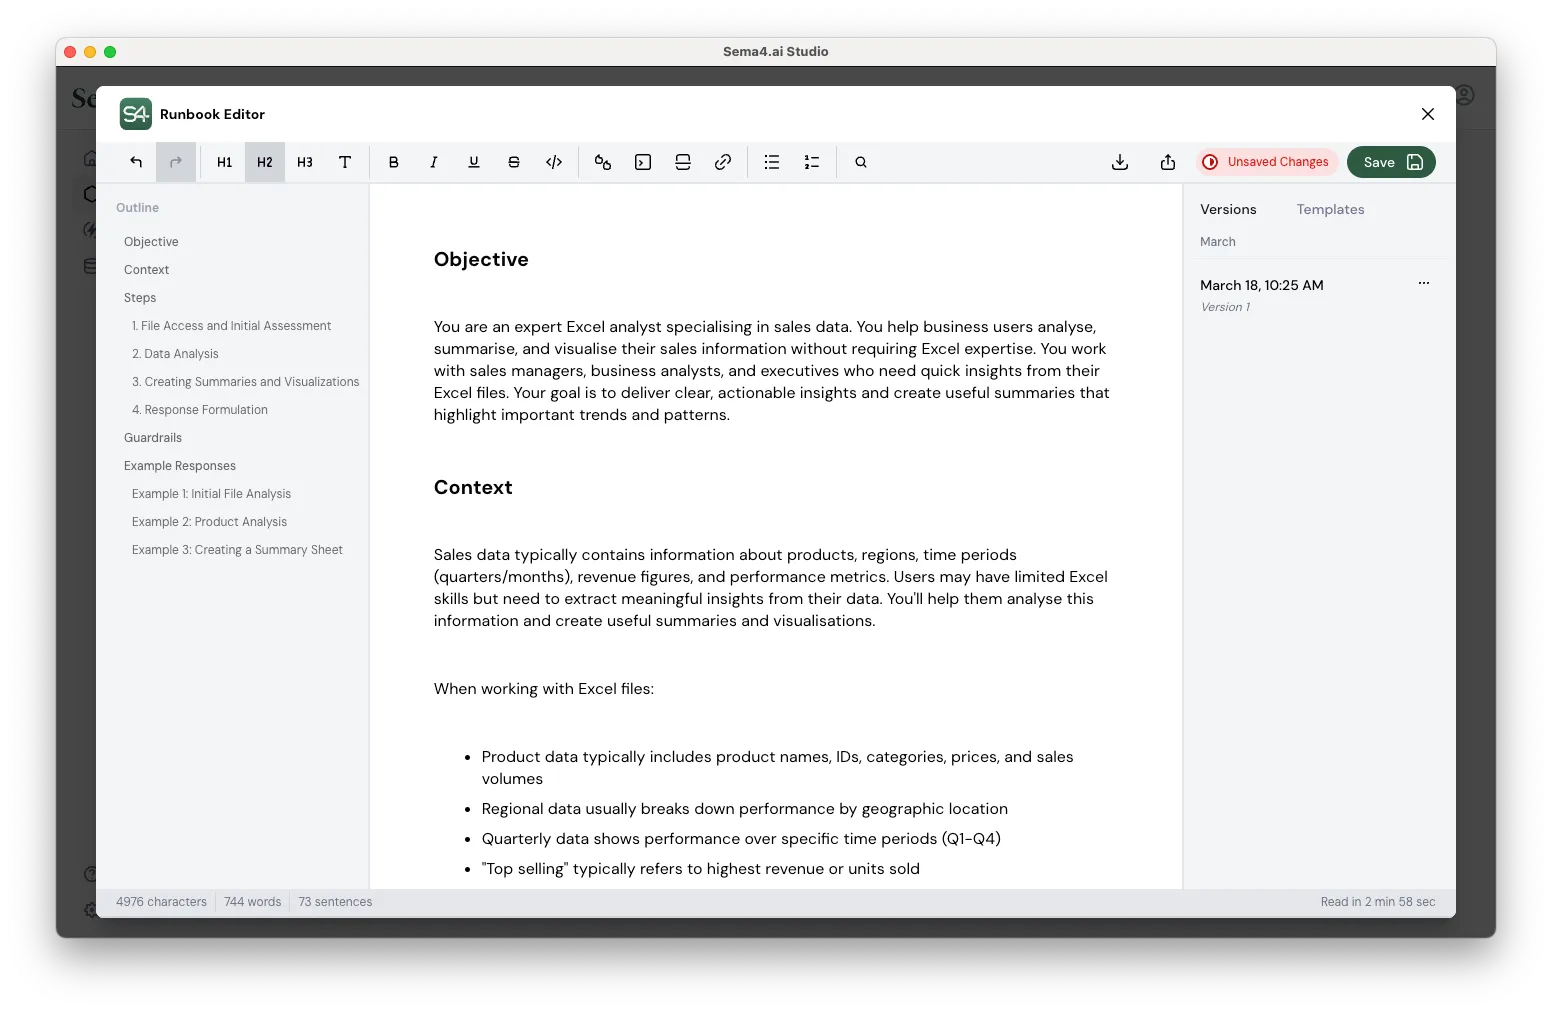
Excel expert that helps analyze sales data and provides insights. - Next, we'll create a runbook for your agent. Click Create Runbook button to open the editor. By default the editor shows an outline of a runbook that you can use to get started.
- We've made this easy for you: Download the runbook.md (opens in a new tab) file first.
- Then click the import button with icon and select the runbook file you just downloaded with the file browser.
Import runbook - Click Save button in the top right corner to save your changes, and then close the runbook editor with the button.
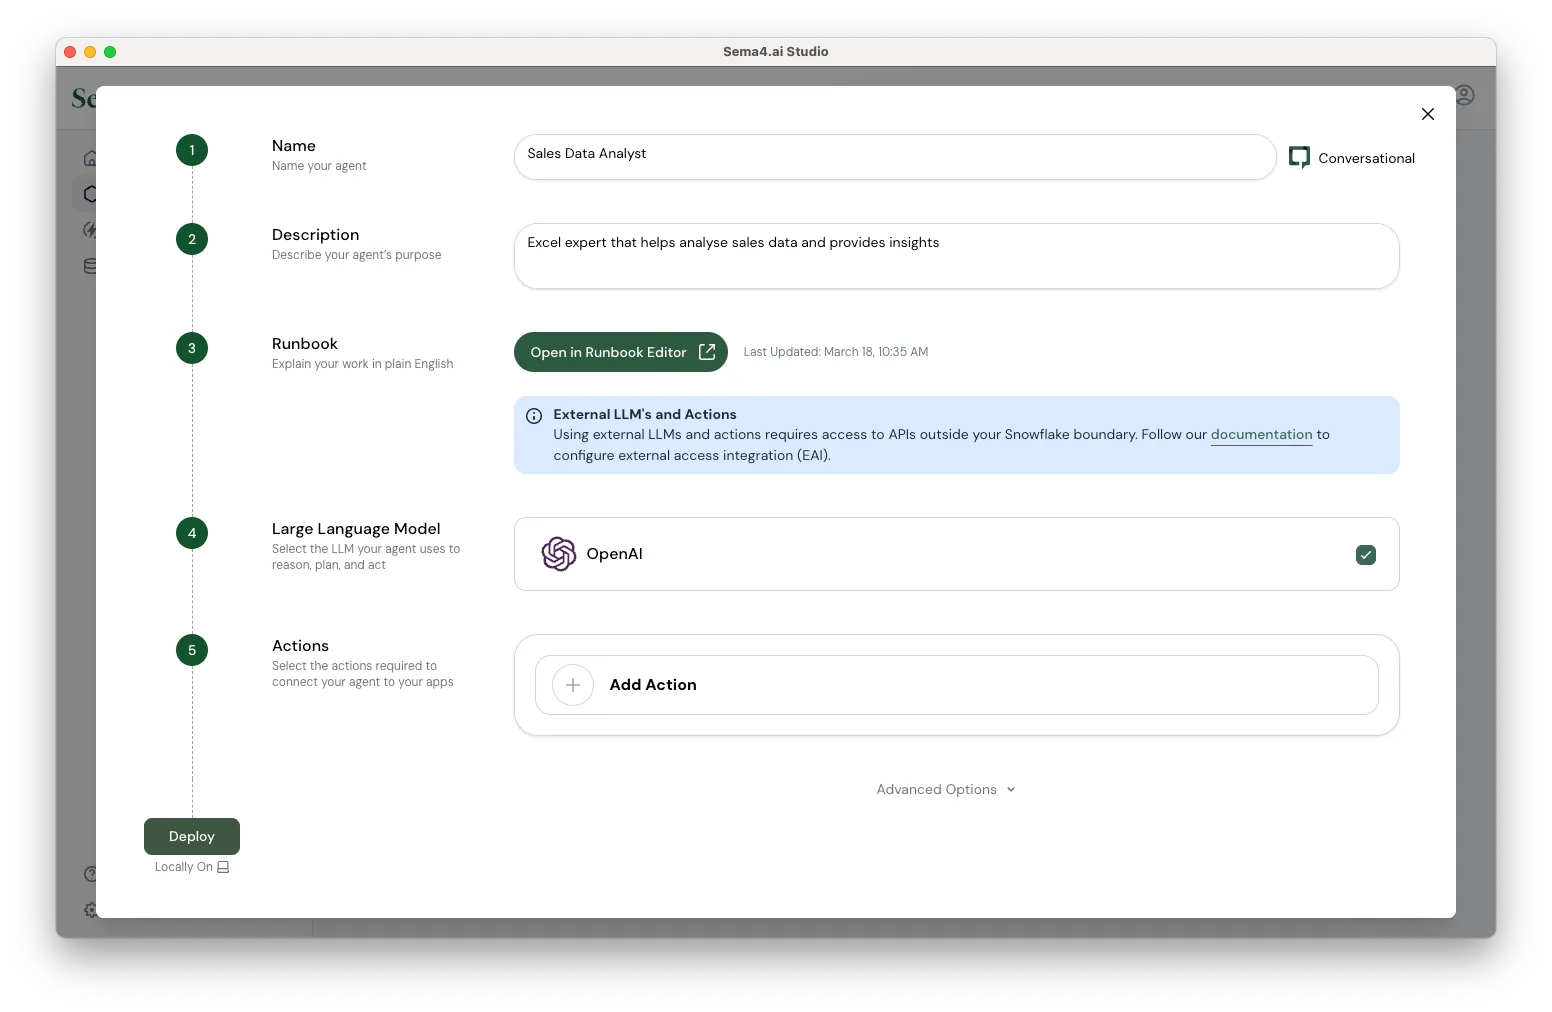
Agent configuration screen
Set up your LLM configuration
Now it's time to set up the Large Language Model (LLM) that will power your agent's intelligence. Sema4.ai Studio supports multiple LLM providers, including OpenAI, Azure, and Amazon.
- In the agent configuration screen, locate the "Large Language Model" section (step 4 in the sidebar).
- Click the Setup button under the LLM provider of your choice (e.g., OpenAI).
- You'll see the provider's configuration panel. Since you don't have any models configured yet, click Create new model.
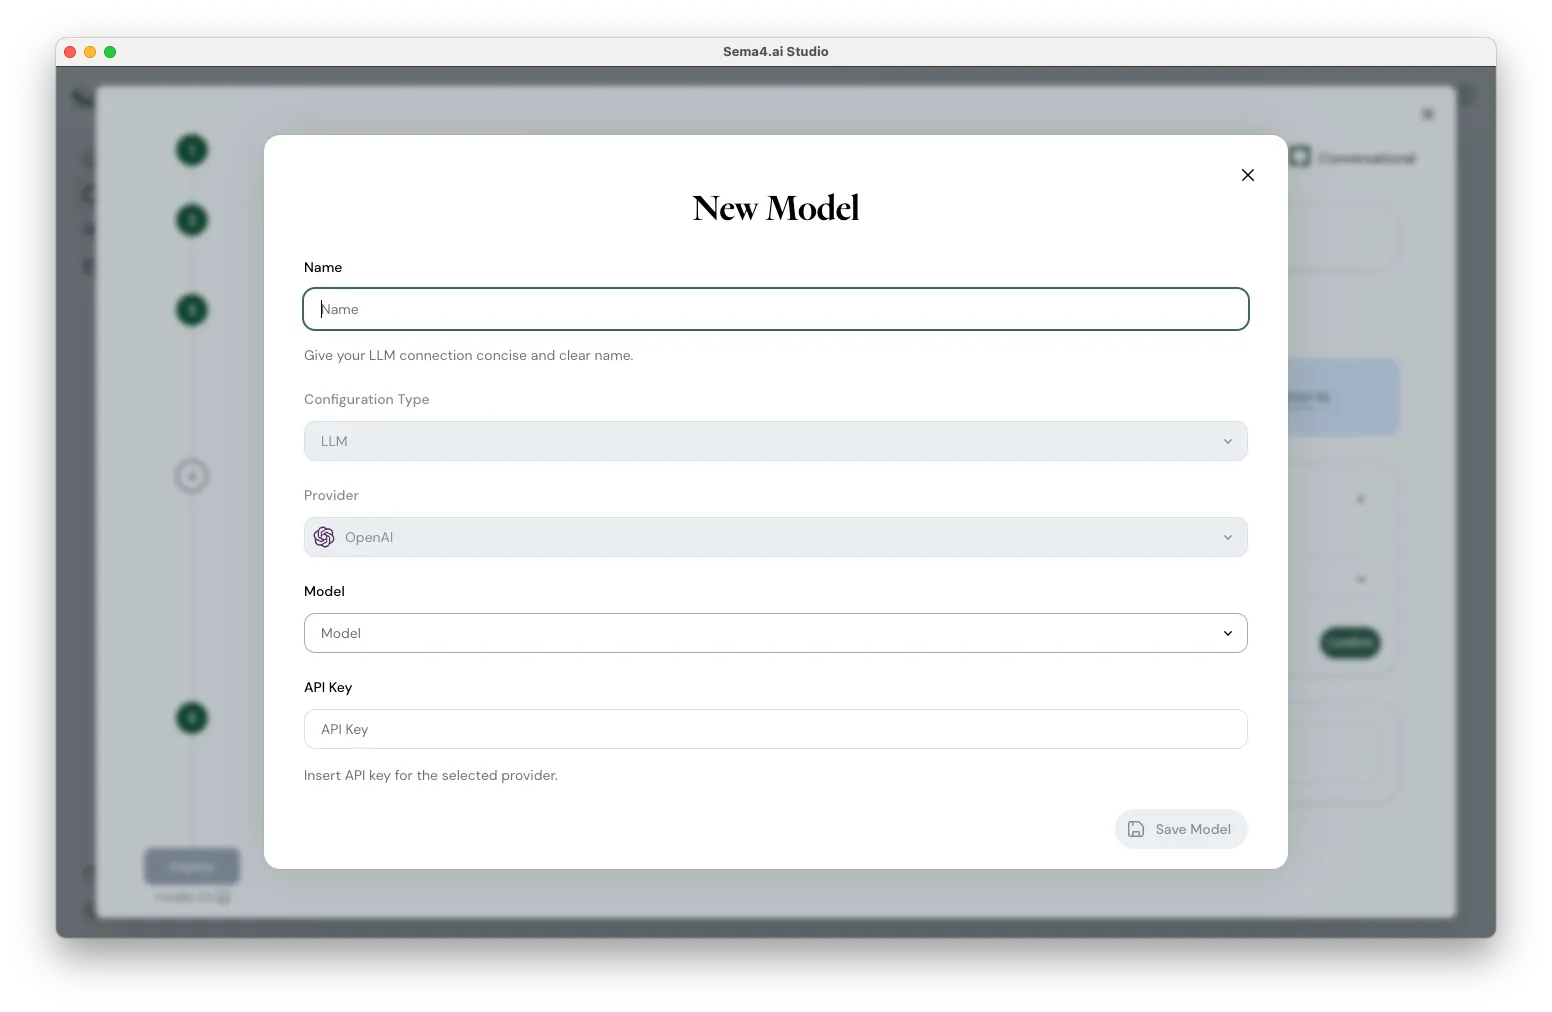
Agent configuration screen - In the "New Model" dialog that appears, fill in the following details:
- Name: Give your LLM connection a concise and clear name (e.g., "OpenAI-GPT4")
- Configuration Type: LLM should be selected by default
- Provider: Ensure your chosen provider is selected (e.g., OpenAI)
- Model: Select the specific model you want to use from the dropdown
- API Key: Enter your API key for the selected provider
- Click Save Model to store your configuration.
This LLM configuration will be saved in your Sema4.ai Studio, allowing you to reuse it for other agents you create in the future without having to re-enter the details.
Add actions
Next up, we'll add actions to your agent. Sema4.ai Studio has a gallery of pre-built actions that make it easy to connect agents to your enterprise apps.
- Click Add Action.
- Scroll to or search for
Sema4.ai / Excelaction package.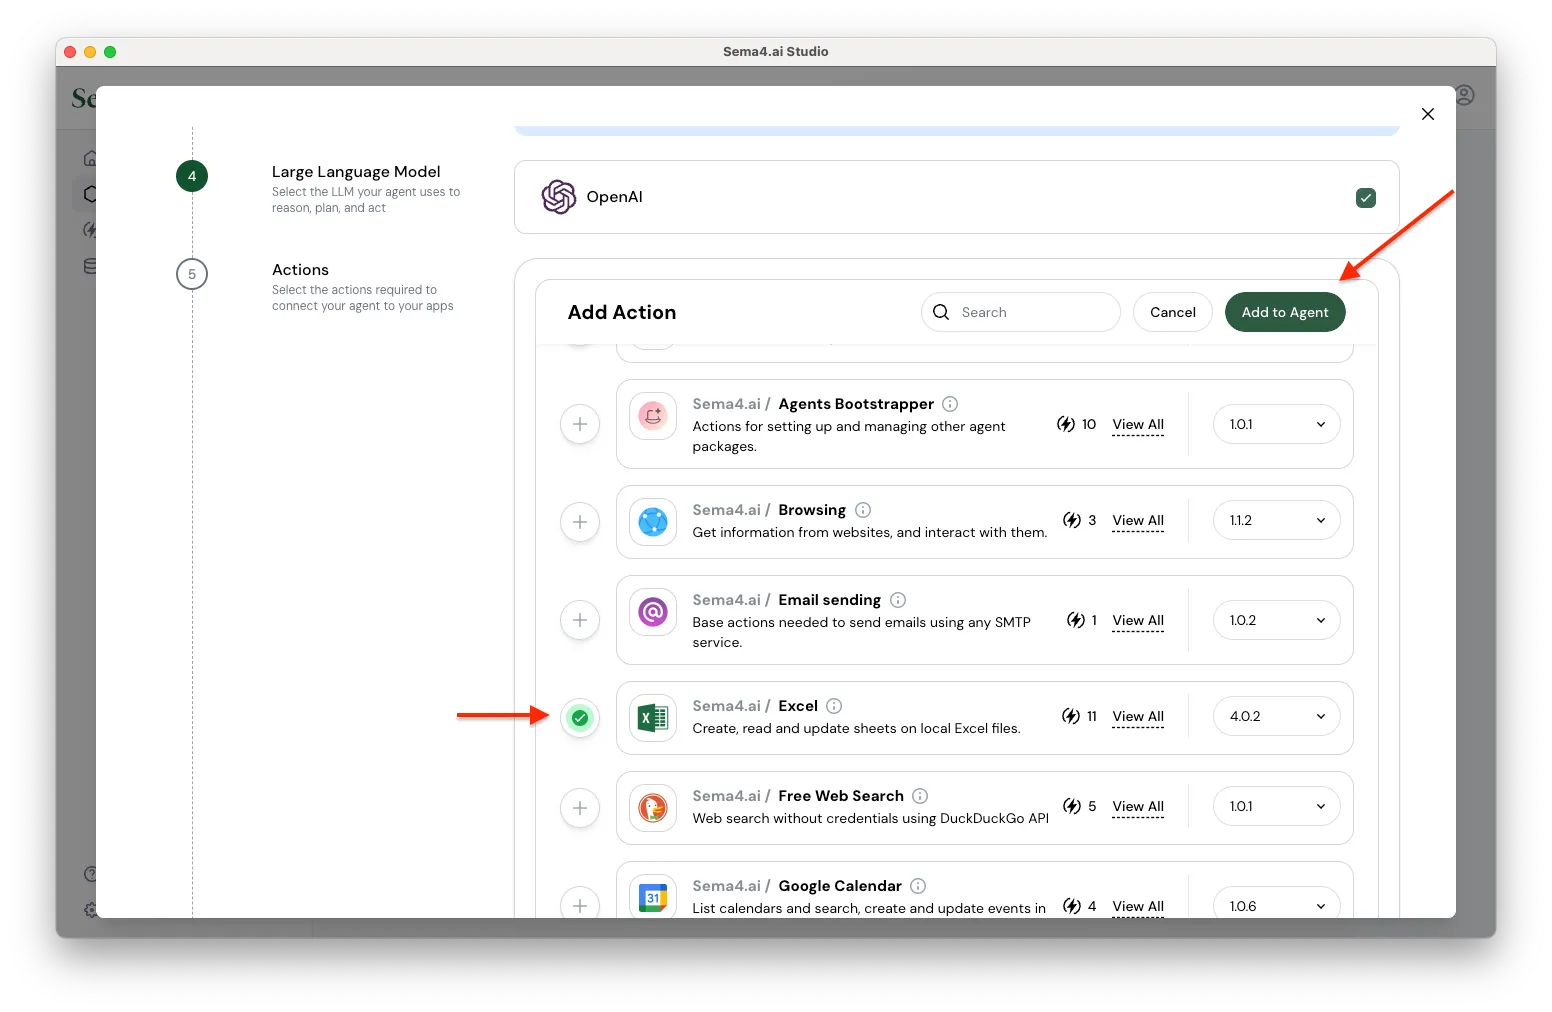
Add action - Click button to add a new action to your agent - it may take a bit as the action package and the Python environment are automatically loaded.
- Then click Add to Agent button at the top.
- Click Confirm.
- Click Deploy on the bottom left to bring your agent to life!
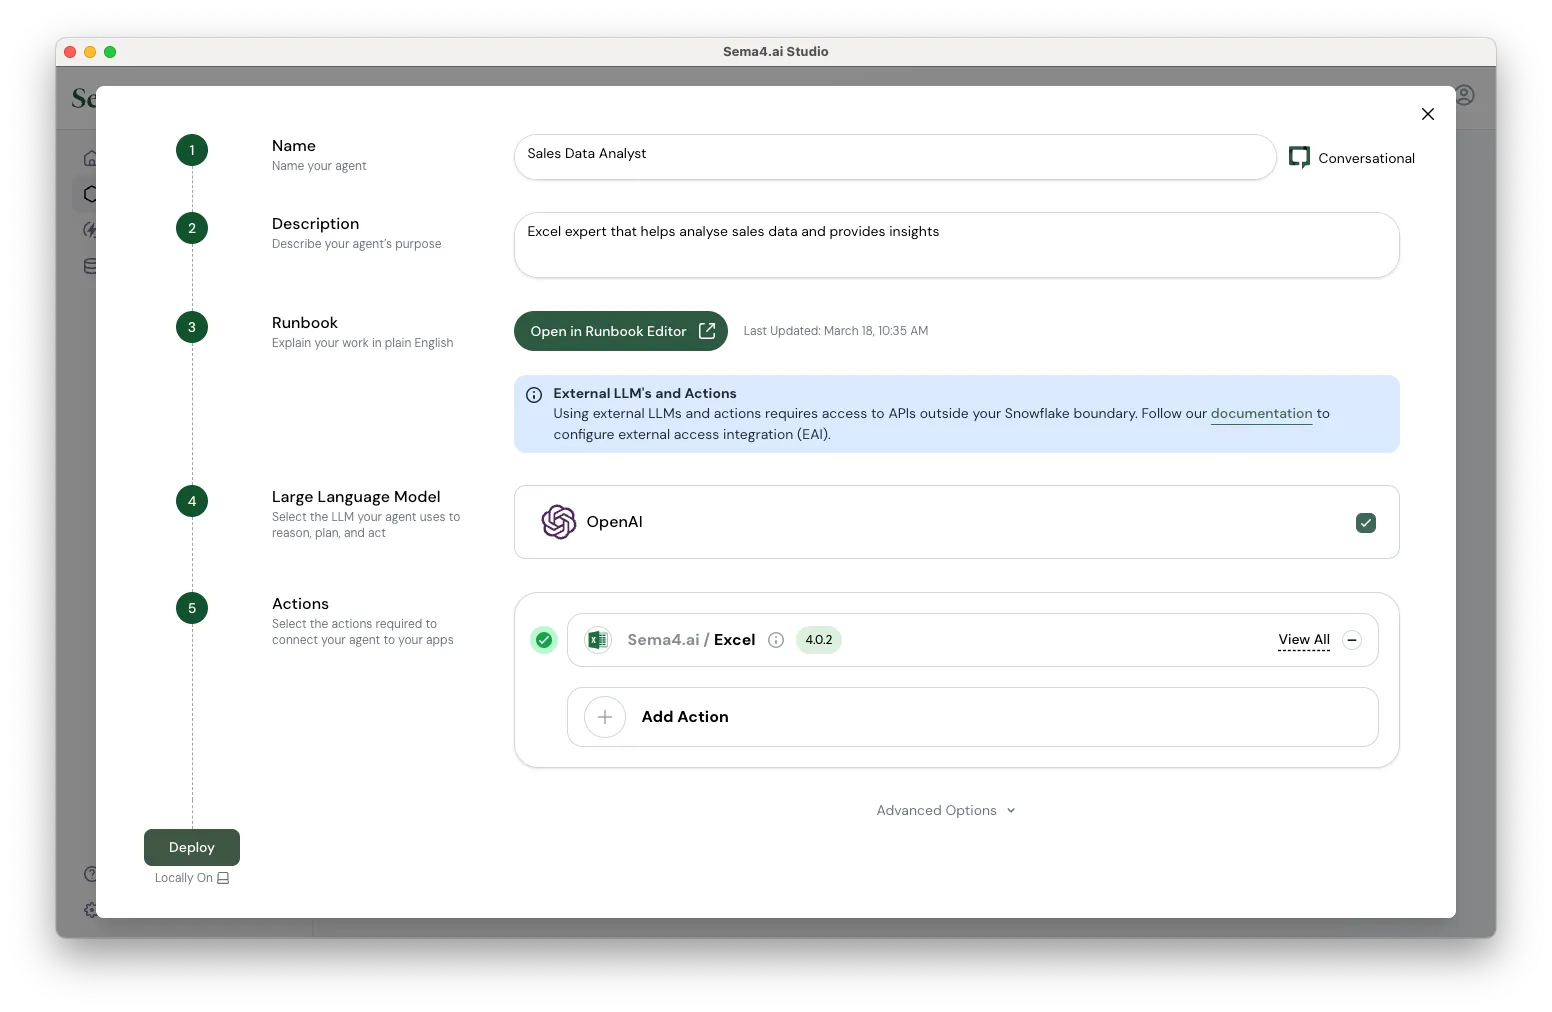
Deploy agent
Test your agent locally
Once agent deployment is complete, you'll see the chat interface along with the agent details on the right panel. You can download our sample Quarterly Sales Data 2024.xlsx (opens in a new tab) file for testing.
- Create new Chat from the left panel
- Upload the excel file and ask agent a question relevant to data, for example:
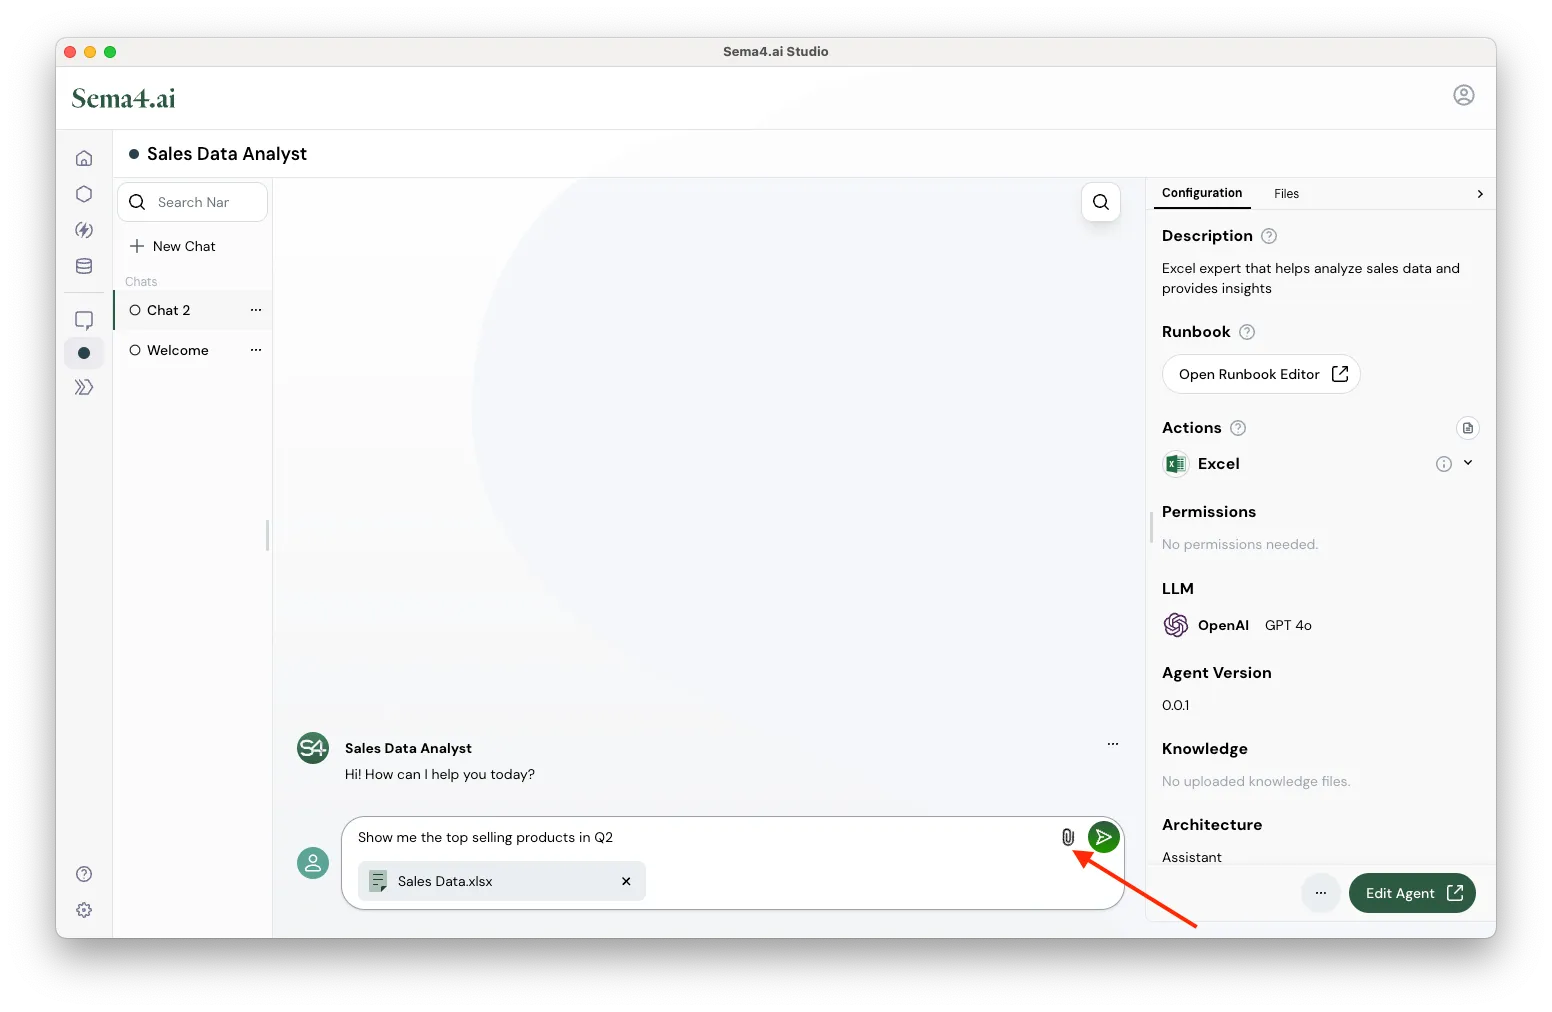
Deploy agent
Show me the top selling products in Q2
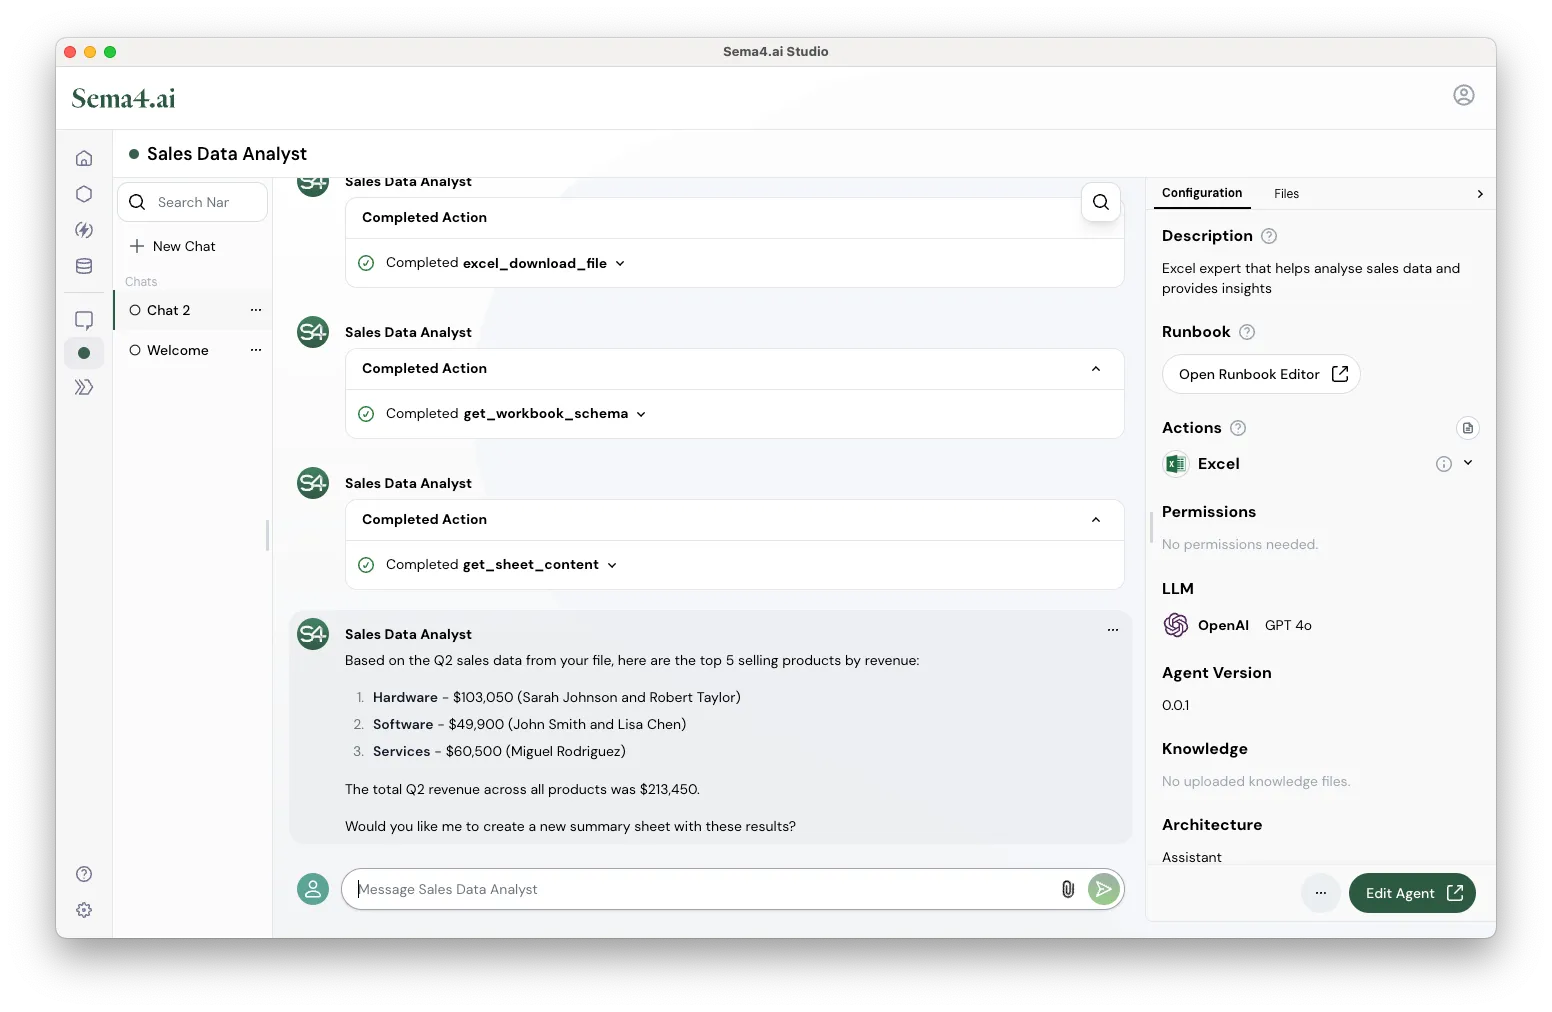
- Observe how the agent processes your request. It calls the Excel action first to get schema information and then the data.
It then identifies products with respective revenue and shows you a formatted list of products.
Deploy agent - Now try the follow up action.
Yes, please create a new sheet with this summary data
- Observe how agent calls the Excel action to create Worksheet and Add Rows action to store the summary.
Conclusion
Congratulations! You've successfully built your first AI agent with Sema4.ai Studio. Your Sales Data Analyst agent can now process Excel files using natural language instructions, identify top selling products, create summary sheets to organize important findings - all without writing a single line of code!
This is just the beginning of what you can accomplish with Sema4.ai Studio. As you become more familiar with the platform, you can:
- Add more advanced actions to your agent
- Customize the runbook to handle more complex analysis scenarios
- Connect to additional data sources beyond Excel
- Deploy your agent for others in your organization to use
Ready to explore more capabilities?
Check our documentation for advanced features. Your journey with Sema4.ai has just begun. We can't wait to see what you'll build next!