Agent as Folder: User Guide
New in Sema4.ai Studio 1.2.9
Studio creates a standardized folder structure on your computer's disk for Sema4.ai agent projects, enabling you to work on agents using both Studio and code editors like VSCode or Cursor, keep changes synchronized automatically, and collaborate with team members through Git integration.
You can now:
- Work how you want: Edit agent files in VSCode/Cursor while keeping everything in sync with Studio
- Collaborate easily: Share agent projects, track changes and collaborate using Git
- Stay organized: Keep all your agent components neatly organized in a standard folder structure
Folder Structure
Your agent is organized in a standard folder structure:
my-agent/
├── agent-spec.yaml          # Agent configuration
├── runbook.md              # Runbook
└── actions/
    └── MyActions/         # Custom actions
    └── Sema4.ai/          # Actions from Sema4.ai Action Gallery
Default Folder Location
The default folder for storing all agent projects is configured in:
- Settings > Advanced > Agent Source Folder
- You'll see a path like
/Users/username/sema4ai-agents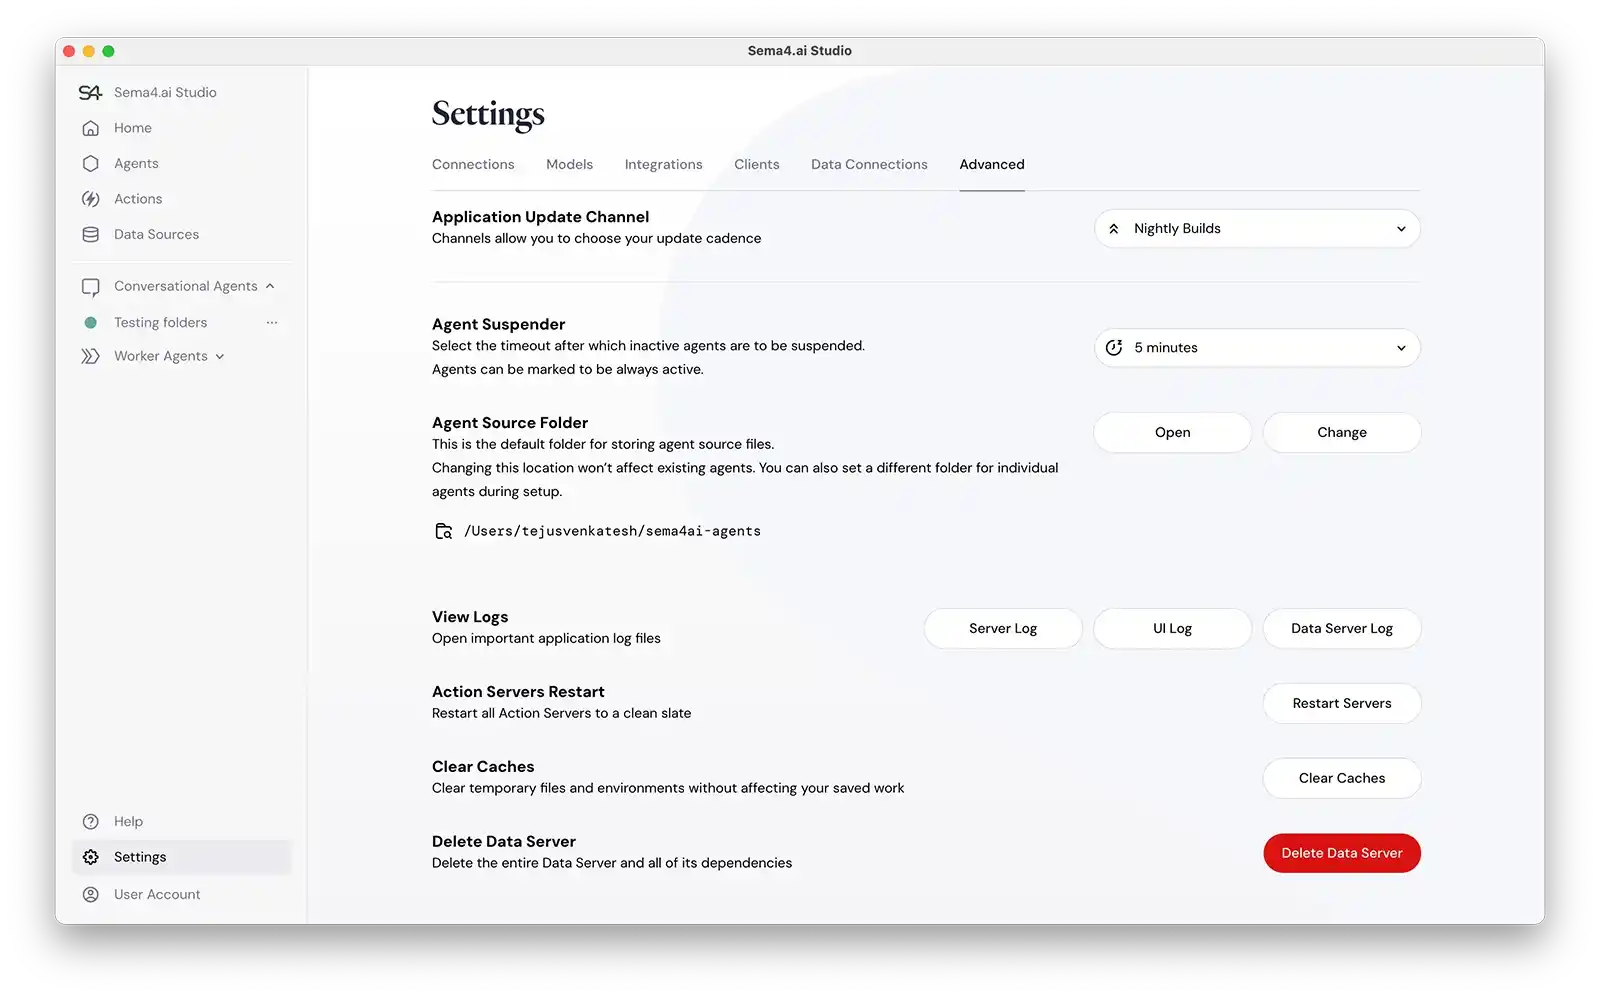
Default folder location - Click Change to select a different default location
Custom Location
You can also set a custom location for individual agents:
- When creating a new agent, click Advanced Options
- Find the Agent Source Folder field
- Enter or browse to your preferred location
- This setting overrides the default location for this specific agent
Getting Started
Creating a New Agent Project
- In Sema4.ai Studio, click + New Agent button on the Agents page
- Enter a name, description, and create your agent as usual
- By default, the agent folder will be created in the default location (Settings > Advanced > Agent Source Folder), or you can specify a custom location in Advanced Options
- Studio creates a project folder with the standard structure
- You can now edit this agent in both Studio and VSCode
Working with an Agent in IDE
Want to edit your agent using VSCode or Cursor? Follow these simple steps:
- In Studio, select your agent
- Click the Open in your IDE button in the toolbar
- VSCode or Cursor will open with the agent project loaded
- Edit runbooks, action code, or agent specifications and Save them
- Studio will automatically detect these changes
Working with Version Controls
Importing an Existing Agent from Git
Have an agent project someone shared with you? Here's how to bring it into Studio:
- In Studio, click New Agent > Import
- Select the
agent-spec.yamlfile from the Git repository - Studio will import the agent with all its components
That's it! Your agent is now available in Studio and linked to the Git repository.
Adding Your Agent to a Team Repository
To add your agent to a shared team repository:
- Clone the team repository to your local machine
- In Studio, edit your agent and go to Advanced Settings
- Change the project path to where you want it in the cloned repository
- Deploy the agent (this copies the Agent Project folder to the repo folder)
- Commit and push your changes
Creating a Git Repository from a Single Agent
To create a new Git repository specifically for one agent:
- In Studio, select your agent
- Click Edit Agent and look for the project folder under Advanced Settings
- Go to the agent project folder using your terminal or file explorer
- Initialize a new Git repository:
git init git add . git commit -m "Initial commit" - Create a new repository on GitHub/GitLab/etc.
- Add the remote and push your changes:
git remote add origin https://github.com/username/repo-name.git
git push -u origin main
Tips for Success
- Save frequently in VSCode to ensure changes are detected by Studio
- Pull before you push when using Git to avoid conflicts
- Check notifications in Studio for detected file changes
- Use the standard folder structure to ensure compatibility